Food Photography Tips For Beginners
I often get asked questions about my food photography and how to create beautiful images for a blog and Instagram. I decided to create this guide of food photography tips for beginners to help you start your food photography journey!
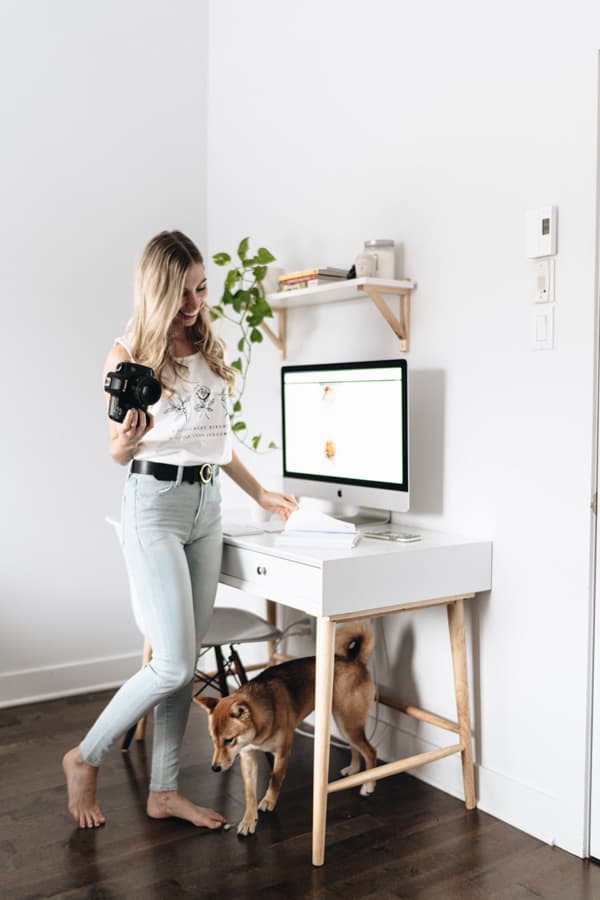
I’ve been sharing some of my favourite tips & tricks for food photography on my Instagram stories, but since these aren’t available long-term I decided to create this guide of food photography tips for beginners as a resource you can refer to help you improve your food photography! (Make sure to follow along on Instagram to catch a glimpse of the behind the scenes of my food photography setup! )
Whether your completely new to food photography or have some practice already, you can find some helpful information in this guide including some of my favourite camera gear and photography “secrets!”
Psst! (Take a look back at the very first photo I posted on the blog, compared to now!)
1. Find your light
Okay. so this is the NUMBER ONE MOST IMPORTANT TIP in food photography. Sorry for the aggressive capitals, but if there is one thing to take away from this blog post, it should be the concept of lighting.
1A. Types of light
There are two main types of light you can work with when it comes to food photography:
- Natural light (aka light from the sun)
- Artificial light (aka studio lights)
In this post, we’re going to talk about Natural light because it’s a light source that is free and readily available for everyone.
When taking photos, it’s important to find the best light. I encourage you to explore where you can find natural light in your home. Don’t feel like you have to be limited to shooting your food in the kitchen just because that’s where you cooked! Try photographing your food in the bedroom, or garage, or even taking your food outside (though be careful to keep your food in the shade, direct sunlight isn’t your friend for food photography.)
Tip: turn off the overhead lights in your room to make sure you don’t get a yellow tint in your photos!
1B. Diffused light
One concept that will give you a quick win when it comes to food photography, is shooting with diffused light.
Diffused light is a softer light that is much less intense that direct light. When light is diffused, it’s scattered and comes from many different directions, which makes for less harsh shadows and highlights in an image.
So how does natural light become diffused light? With clouds! Cloudly days are the BEST for shooting food photography. This type of lighting will bring your food photos to the next level and create beautiful soft clear images.
Tip: Once you find the best room in your home with the best lighting, test out taking some photos on a sunny day vs a cloudy day and see the difference it makes in your photos!
1C. Light direction
The angle of the light will change the way your photo looks. There are 4 (main) possibilities for light angles:
- Right side light: the light source is coming from the right side of your set)
- Left side light (the light source is coming from the left side of your set)
- Front light (the light source is in the front of your set)
- Back light (the light source is coming from the backside of your set)
Front light is not generally recommended for food photography since it can make images appear flat and dull.
Play around with having your light source at a different angle and find a style that you like. You can also have light coming from alternative directions, like corner light (between side light and back light.)
Tip: certain types of food/dishes may look better with different lighting. Try each light angle on your subject to find one that looks best!)


2. Shoot with a DSLR camera
If you’re serious about food photography, you’ll want to invest in a DSLR camera eventually. There is nothing wrong shooting with your phone, and many phones produce great quality images, however, if you want to create really high quality “wow” photos, a DSLR is the way to go!
The number one secret to shooting with a DSLR camera, is shooting in manual mode. This is a great way as a photographer to develop a style and learn to work with light and have more control over their photos.
I recommend you practice playing around with these settings and how they all relate to each other. There really is no replacement for practice!
Let’s dive into this a little deeper by exploring the 3 key components of manual mode
2A. ISO
ISO measures your camera’s sensitivity to light. Basically what you need to know is lower ISO=higher quality image (less noise), but less light. Higher ISO=lower quality image (more noise), but more light. So, if your shooting on a bright day with lots of light, you can shoot at a lower ISO. If your shooting on a darker day with less light, you may need to shoot at a higher ISO (Here’s a short video that displays this concept!)
2B. Aperture (or “F-stop”)
The Aperture is the hole in the camera that lets light in. Think of it like your eyeball. If you move from a lighter to a darker area, your pupil expands to let more light in. The camera works in a similar way. A wide aperture will let more light in, while a small aperture will let less light in. The aperture is also how photographers achieve bokeh in their photos. (a blurry effect in the background) An aperture setting of F1.8 will give you a lot of blur, while an aperture of F6.0 will give you less blur. (Here’s a short video that displays this concept!)
2C. Shutter speed
The shutter speed is the amount of time your camera’s shutter is open. The longer it is open the more light it lets in. (a low shutter speed) The shorter it is open, the less light it lets in. (high shutter speed) The important thing to remember here is if you are shooting handheld at a low shutter speed, (less than 1/60) you may end up with a photo that isn’t so crisp. This is because our hands shake a bit when we photograph, so shooting at a higher speed generally helps to create sharper images. I always recommend shooting above 1/60 if you’re not shooting on a tripod (Here’s a short video that displays this concept!)

3. Food styling
Now that you have found your light and understand your camera settings, you’re ready to set the scene! So what goes into creating a yum-worthy food setup?
3A. Composition
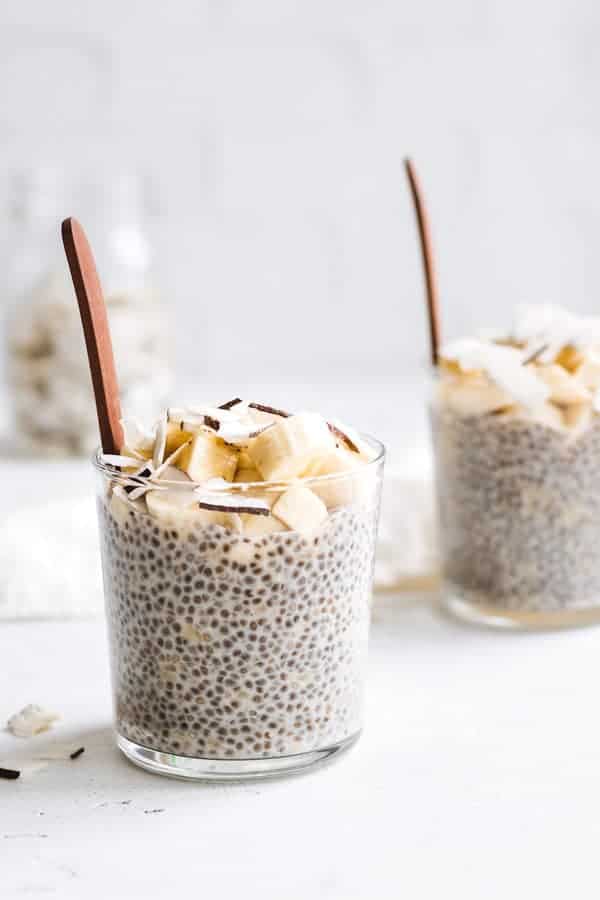
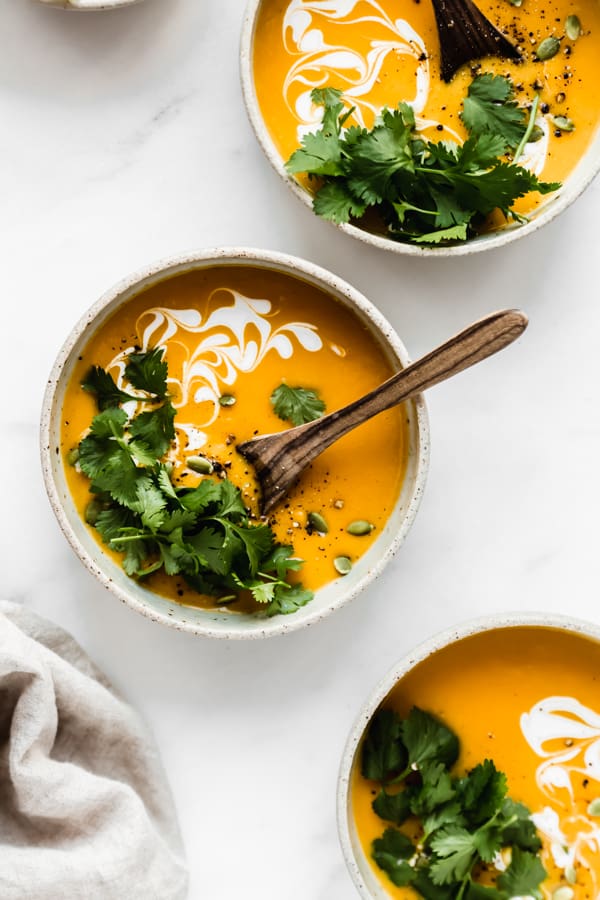
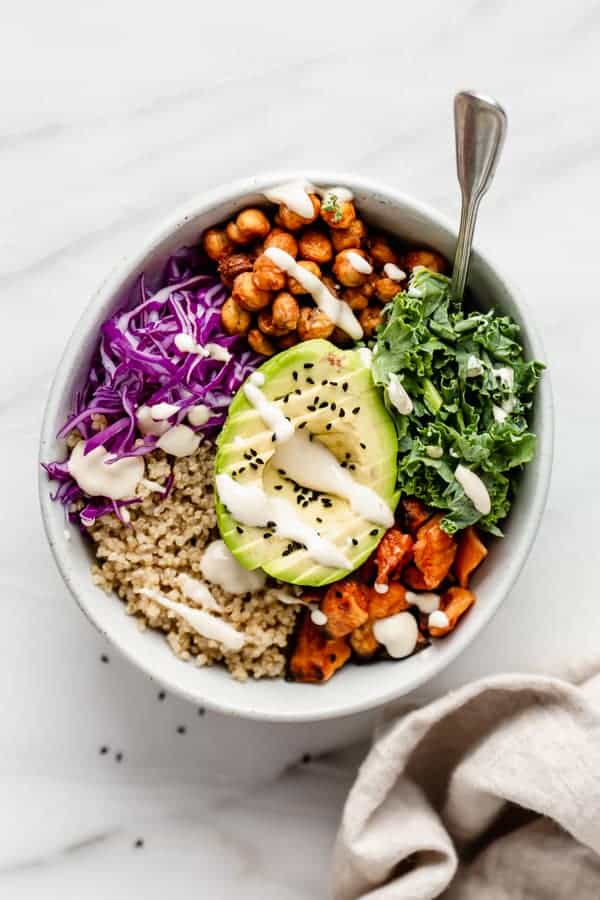
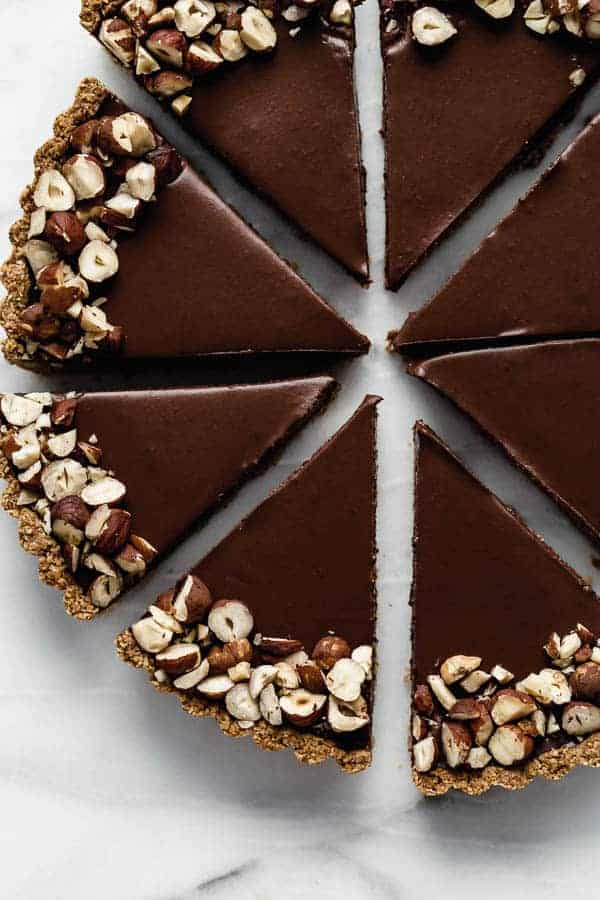
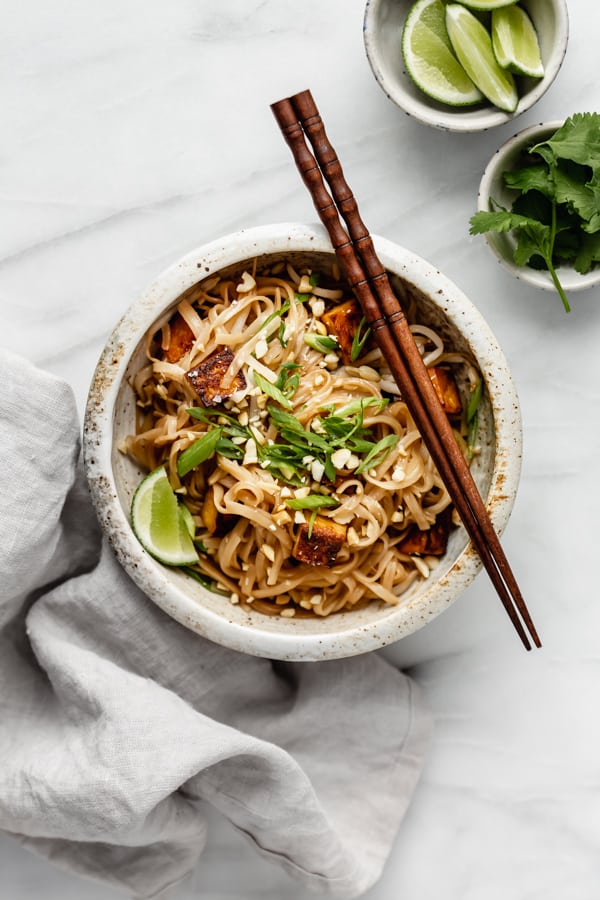
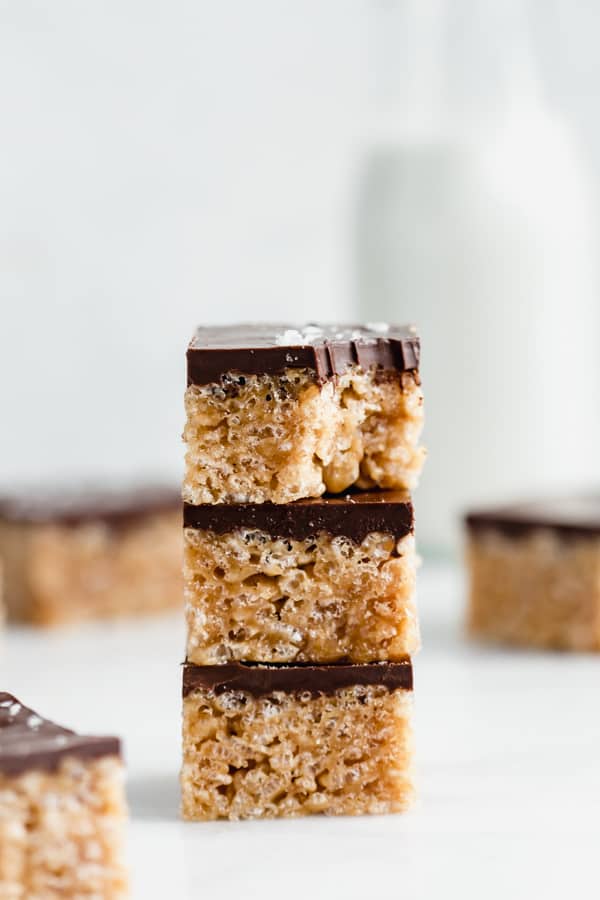
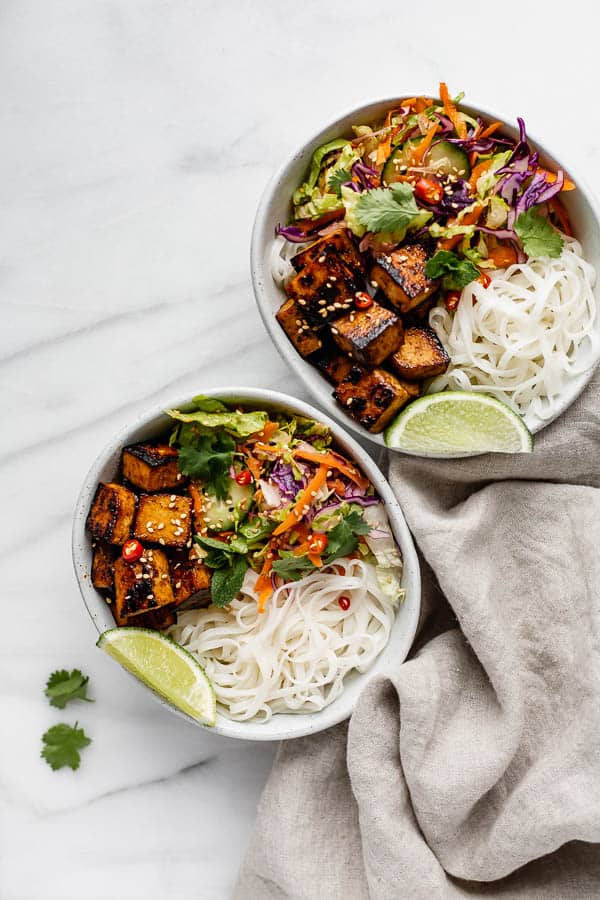
This is how you will set the scene. One composition tip you will hear about a lot in photography is the rule of thirds. Basically, if you break your image into a grid of 3 squares, the “best” points of interest will be where the lines intersect. (If your interested, you can read about this more in-depth here) Another important aspect of composition is layering. This applies to how you layer the food in your dish, as well as props. Layering can give texture and interest to your photo. (i.e. Adding a napkin under your dish, or garnishing it with cilantro)
3B. Propping
Props are a great way to give a “feel” to your photo and to tell a story. You may opt for more vintage props like old pots and spoons, or you may gravitate towards more modern props. Whatever props you use, they’ll allow you to create a style for your images. (You also don’t need to overdo it with props! Sometimes a napkin or a fork is all you need!)
My camera gear:
- Canon rebel t6s
- Canon 5d mark iii
- Canon EF 50mm f/1.8 lens
- Canon EF 100mm f/2.8 lens
- Canon EF 24-70mm f/4.0 lens
- Manfrotto 290 Xtra Aluminum tripod
- Manfrotto compact ball head
- Manfrotto lateral arm
Other gear I use for food photography
Great resources for food photography
I hope these food photography tips for beginners are helpful for you! If you have any questions or are interested in more food photography guides (maybe on styling or editing?) let me know in the comments below!
This post contains affiliate links. I only recommend products I know, trust and love!


Hi, my name is Elisabetta! Your food blog is super amazing, and I love your shots and your style! I would like to know which camera model you use to take your stunning pics!
Hi Elisabetta, all the camera gear and models are listed at the bottom of the post 🙂
This was so helpful , your are a truly a winner thank you for sharing these amazing tips , I have the exact camera. , hadn’t been used for 4 years going to start this weekend.
So happy this was helpful Elsa! Excited for you to practice your photography 🙂
Hi Jess! Love your blog! And photos are so inspiring! Do you have any recommendations for Lightroom Pre-Sets? Do you sell your own pre-sets? Thank you!!
Hi Ani, I will have some soon that I will be sharing, stay tuned 🙂
Thank you for this very helpful post! Would love if you can create something similar on how you create your videos as well 🙂 Warmly /Jenny
Thanks for the feedback Jenny! Glad you enjoyed!
Is all that camera gear you list crucial or do we just need a dslr camera as a beginner?
Hi Lauren, no camera gear is “crucial”. It’s all up to you depending on what you’d like to shoot with.
Thanks so much for these great tips! I was wondering how you get your professional camera pictures to show up un-blurry on Instagram? Do you use an app or email them or something else? Also, do you save them as a different size for Instagram?
Hi Rosy! I shoot my images in RAW (higher quality) and export them from Lightroom once I’m done editing as a JPG in their full size so the images are not compressed. Then I use airdrop to send them to my phone before uploading them to Instagram. This keeps them as high-resolution as possible 🙂
Thanks so much Jess!
ahhh i love all of your tips! for editing photos for instagram would you suggest using lightroom or photoshop? or an app light snapped or vsco? im a newbie hehe. I LOVEEEEE YOUR ACCOUNT xxxx
Hi Caitlin, thank you so much! I use lightroom for desktop and I love it.The app is pretty good too, as is the snapseed app!
Love all your handy tips! I like food photography as well and still learning new things every day. So fun to be creative with food, props and editing like Lightroom. Do you ever shoot on rainy days? When it’s rainy here in Holland (like always) my photos get very dark and it’s hard to edit them after. Do you have any tips for that? Thanks girl! Xoxo from Holland
Thank you! I do shoot on rainy days sometimes, however, I prefer to shoot on sunnier or lighter days as well for the same reason. (Lucky for people who shoot “dark and moody” rainy days work well!) The best advice for rainy days is to set your camera to shoot a little brighter (overexpose the settings a tiny bit), and in editing, take out most of the shadows, and bringing up the whites sometimes can help give it a brighter feel! Hope this helps:)
I just finished taking some food photography courses on Creative Live, and your blog post reinforced what I learned and was very beneficial. Learned some new things from you too. Thanks for posting it and love your pictures. 🙂
Hi Carol, thank you so much, I’m so glad it was helpful! I love creative live for courses, it’s an amazing platform!
You’ve come a long, long way Jess!
How did your editing change? Were you editing on another app before you switched to Lightroom?
Thank you Sreya! I’ve always edited with Lightroom for the most part. What your noticing is an improvement in my photography 🙂
Where I currently live the lighting makes all of my pictures look very yellow. During the day I go outside to take my pictures but at night I obviously can’t do that. Is there anything that I can do to help take my indoor pictures so that they don’t look so yellow? Thank you!
You can try shooting at a different window in your home and make sure to turn off all the overhead lights. if your photos are turning out a little yellow you can also adjust that in editing after by adjusting the “temperature” tab in Lightroom (or whatever editing program you use, most of them you can adjust the temperature.) Hope this helps!
Thanks so much for these photography tips! I love your pictures so they will be a big help.
I was wondering, though, what kind of surface you use? I know you mentioned it once in your insta story but I forgot. I don’t really know where to look for a nice surface/background.
Hi Isabelle! I get my backgrounds from a variety of places. Some are tiles from the hardware store, some are boards I had made from a brand called eclectic lab design, and one is even some old wood I found in someone’s trash! You can also even use placemats or tablecloths for some great inexpensive backgrounds!
Thanks so much for these photography tips! You helped me a lot ! I am a beginner and i don’t know anything about photography. Hope these food photography courses will help me! Love your photos. Xoxo from Greece🇬🇷
You’re very welcome 🙂