This post may contain affiliate links.
Food photography is one of my favourite elements of food blogging! Finding a way to create beautiful images that show recipes in an appetizing way is both fun and challenging.
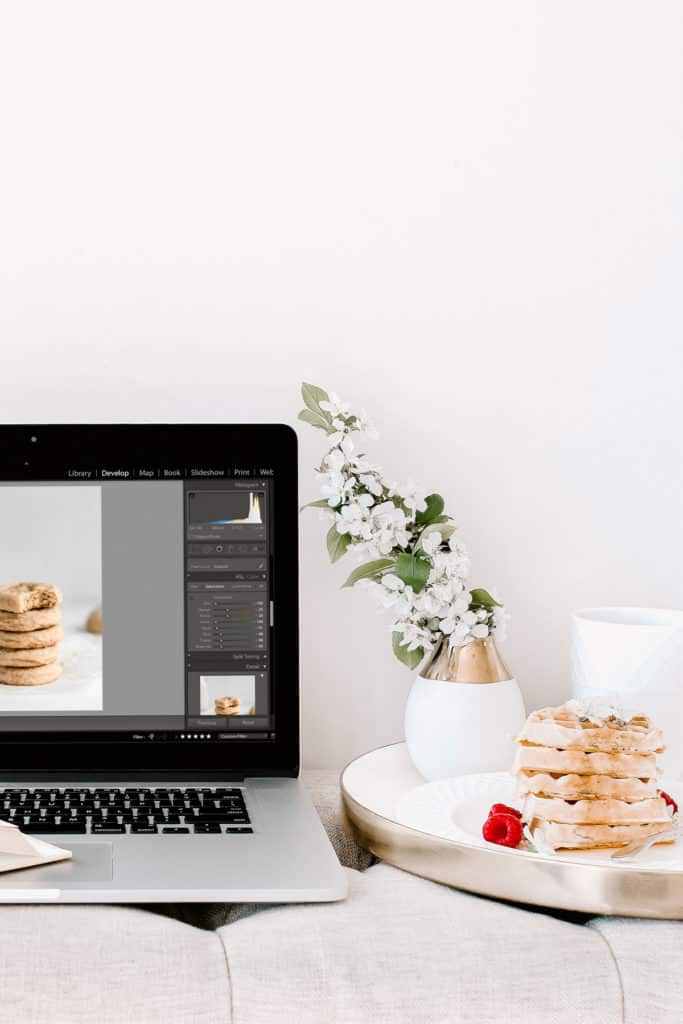
A huge element of creating drool-worthy food photos is photo editing. Through editing, you can create a unique style, mood and even a signature “look” for your photos.
If you’re rather new to food photography, you may want to check out my guide on Food Photography Tips for Beginners before diving into this editing tutorial.
Editing with Adobe Lightroom for Desktop
The #1 program photographers like to use to edit their photos is Adobe Lightroom. It is a professional editing software that is extremely flexible to help you edit stunning photos. The program costs $9.99/month, but if you’re serious about editing, it’s worth the investment. (Lightroom also offers a 7-day free trial if you want to try it out before making a commitment!)
Lightroom is the program we’ll be using in this guide. (*Though these tips can be used and applied to most photo editing software.)
Editing with Adobe Lightroom for Mobile
Currently, shooting photos using your phone and prefer to edit directly on mobile? No problem! Lightroom has a free app that has many of the same features offered on the desktop program. Follow along with this guide and use the same features on the app to edit your photos.
5 Editing Tips for Drool-Worthy Photos
1. Adjust your white balance
This is your “temp” and “tint.” Sometimes when we photograph an image, it can read a bit cool or warm in our camera. This can be caused by the lighting, the sun or other lighting factors. Appetizing food images tend to be not too cool, and not too warm. You want to have it just right!
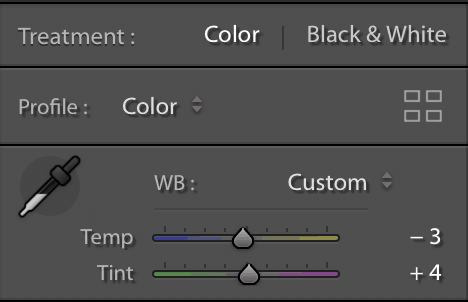
The tint can also be slightly more green or magenta depending on external factors. Again, you generally want to have the tint balanced. (Though you can also use tint to create a style if you light your images slightly more green or magenta.)
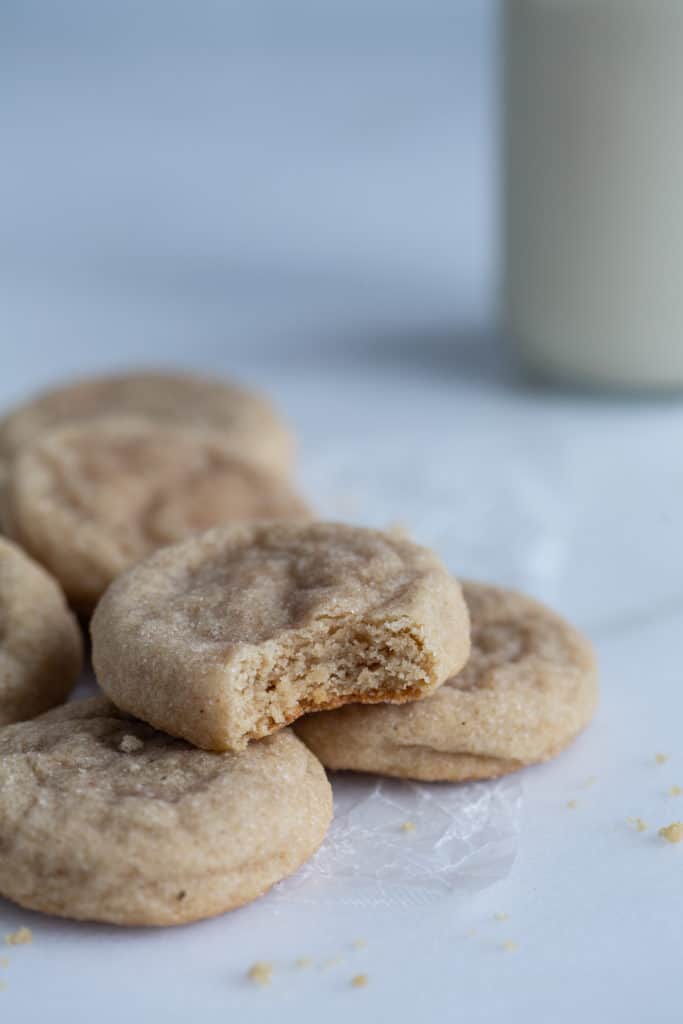
- Pictured left: Cookies straight out of camera with too much of a cool temp to them
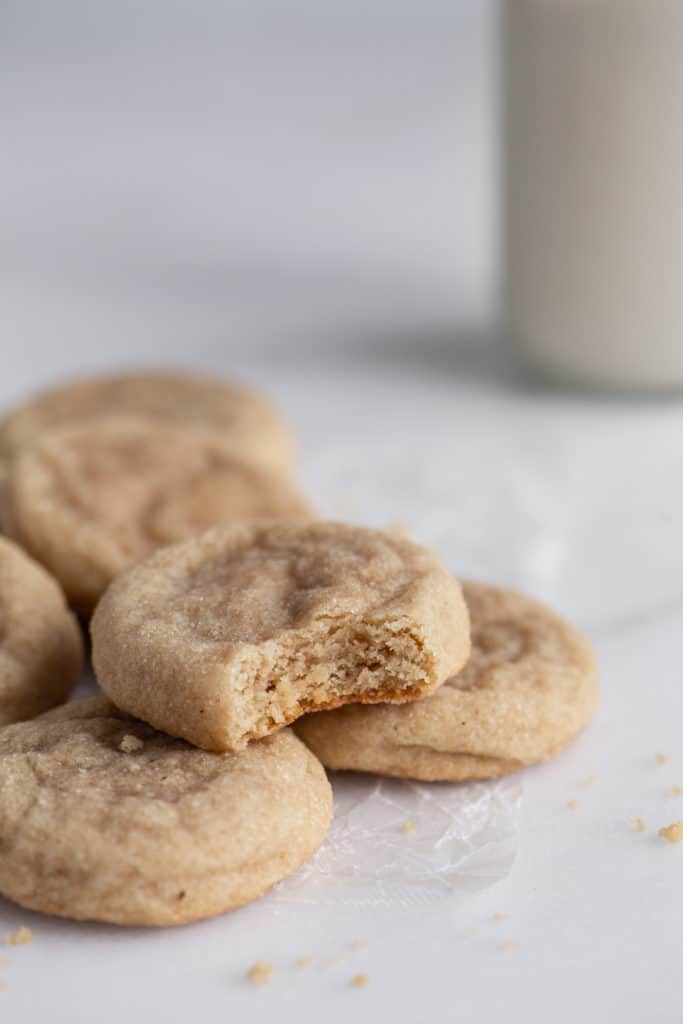
- Pictured right: Cookies with adjustments to white balance
Key Takeaway: Play around with the temp and tint sliders, moving them gently back and forth until you find a happy balance that looks pleasing to the eye.
2. Add an S Curve to your photos
The tone curve is a powerful tool that represents all the different tones in an image that can be used to change the overall brightness and contrast. This tool can also be used to create very stylized images. Creating the same tone curve in all your images will help you create a cohesive look.
I could go into depth about the tone curve but we’d be here all day, so let’s just focus on one simple type of curve you can make: an “S curve.”
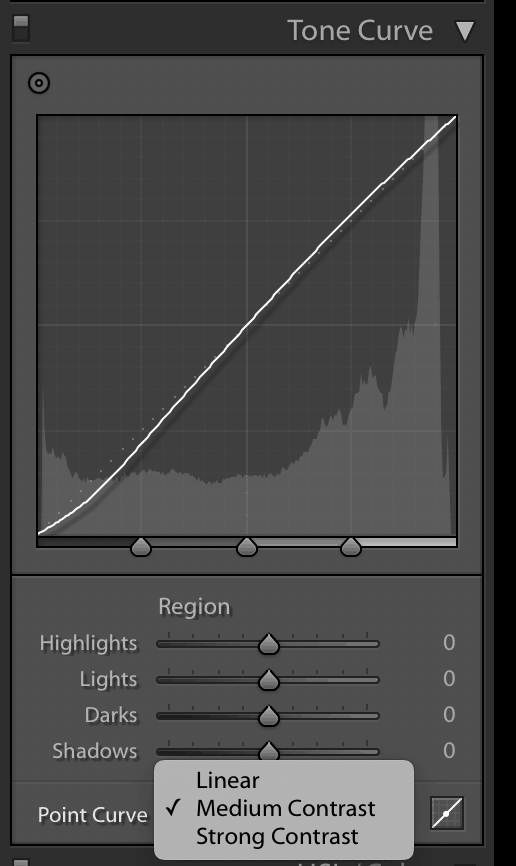
As you may have guessed, this curve is in the shape of an S. Lucky for us, Lightroom allows you to create a subtle S curve with just the touch of a button by selecting “medium contrast” or “strong contrast,” as shown in the image above.


- Pictured left: Pad Thai straight out of camera
- Pictured right: Pad Thai with a medium-contrast tone curve applied to it
Key Takeaway: An S curve will add more depth and an instant punch to your image. You can also play around to create a unique style using the tone curve.
3. Crisp your image
So I’m kind of bundling a few different tools into this one category, all of which are my favourite tools to really make my photos crisp. These tools are the secret to those images that make you want to reach through the screen and eat them!
There are 4 tools that I group into this category:
- Texture: enhances texture in an image without adding noise
- Clarity: enhances mid-tones in an image
- Dehaze: reduce (or increase) the amount of haziness in an image
- Sharpen with masking: sharpen edges of subjects in an image
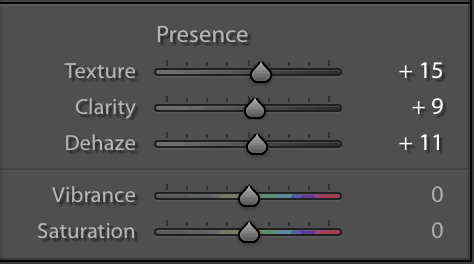
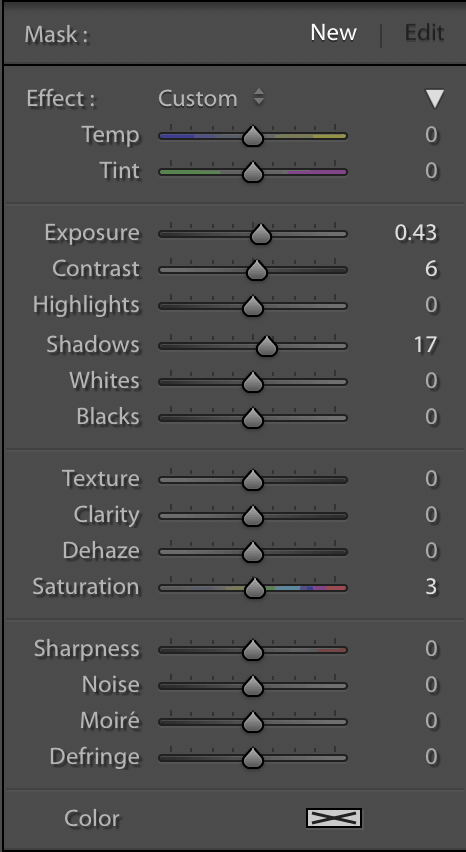
Texture, clarity and dehaze can all be found in the basic panel, while sharpening and masking can be found in the details panel. To add texture, clarity or dehaze to an image, slide the slider back and forth until you get a look you’re happy with.
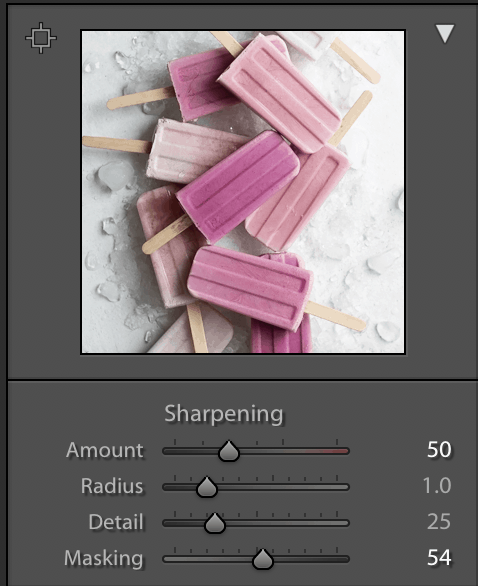
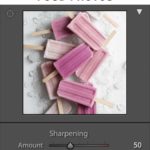
To add sharpening with masking to an image has an extra “secret” step. Apply sharpening to the image (I like somewhere between 25-60), and hold down the option key on your keyboard as you slide the masking slider. You will see what looks like a black and white x-ray of your image. Drag the slider until you have a clear x-ray image of your photo. That’s where you want your masking to be!
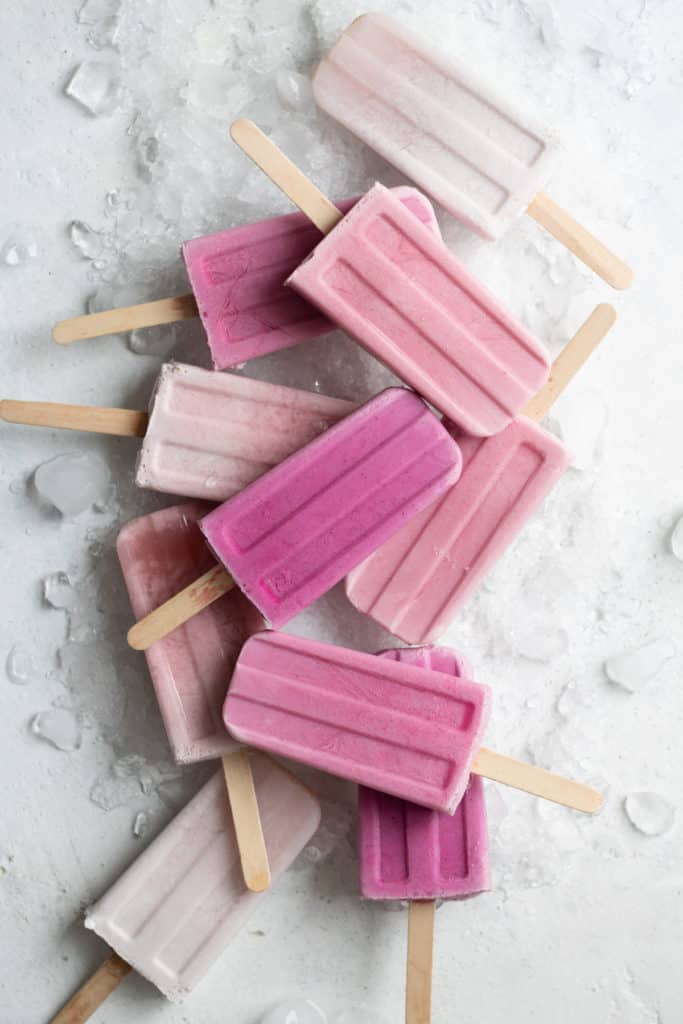
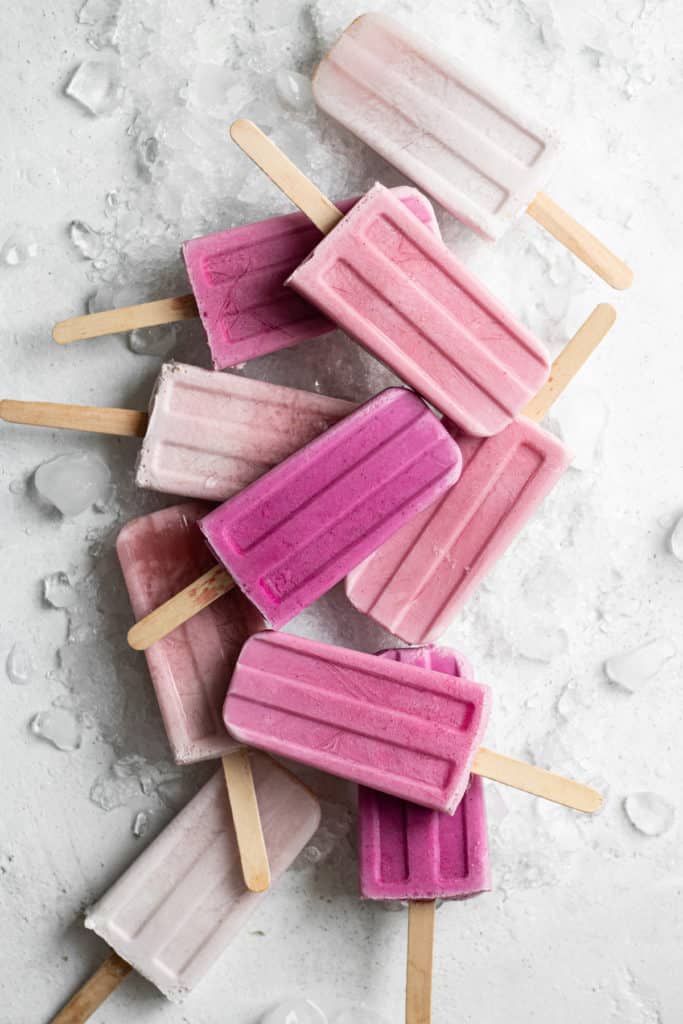
- Pictured left: Raspberry creamsicles straight out of camera
- Pictured right: Raspberry creamsicles with texture, clarity, dehaze and sharpening
Key takeaway: Play around with these four adjustments and find a balance that you like. You may not want to use all four of these tools on every photo, it may vary photo to photo.
4. Use selective editing
Selective editing can be used to target only specific areas of an image. So let’s say you have an image of soup, and the background is bright, but the soup looks dark. You can use selective editing to brighten up JUST the soup while leaving the rest of the image undisturbed.
In Lightroom the main tool you can use for selective editing is the adjustment brush. Brush over an area of an image you want to edit. You can use the “o” key on your keyboard to toggle on and off a red overlay to see what areas you’re brushing.
Once you have brushed over the area you want to edit, use the panel on the side to make any basic adjustments to your selection.
I like to use this tool to draw attention to the “hero” in my image, and to make small adjustments to areas in my image that may be too bright or too dark without affecting the overall photo.
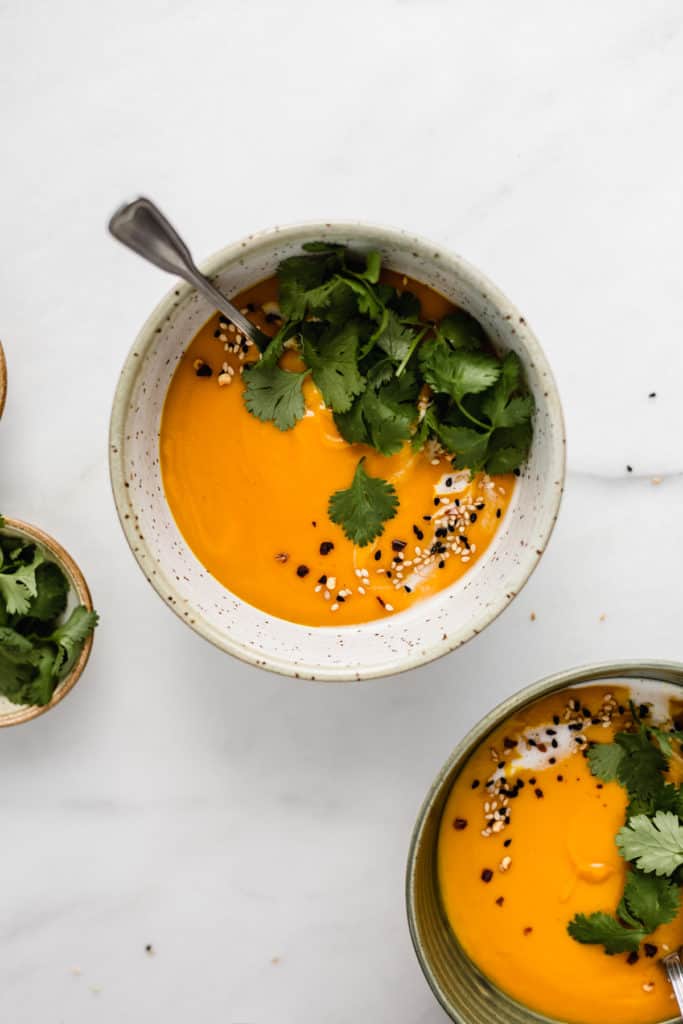
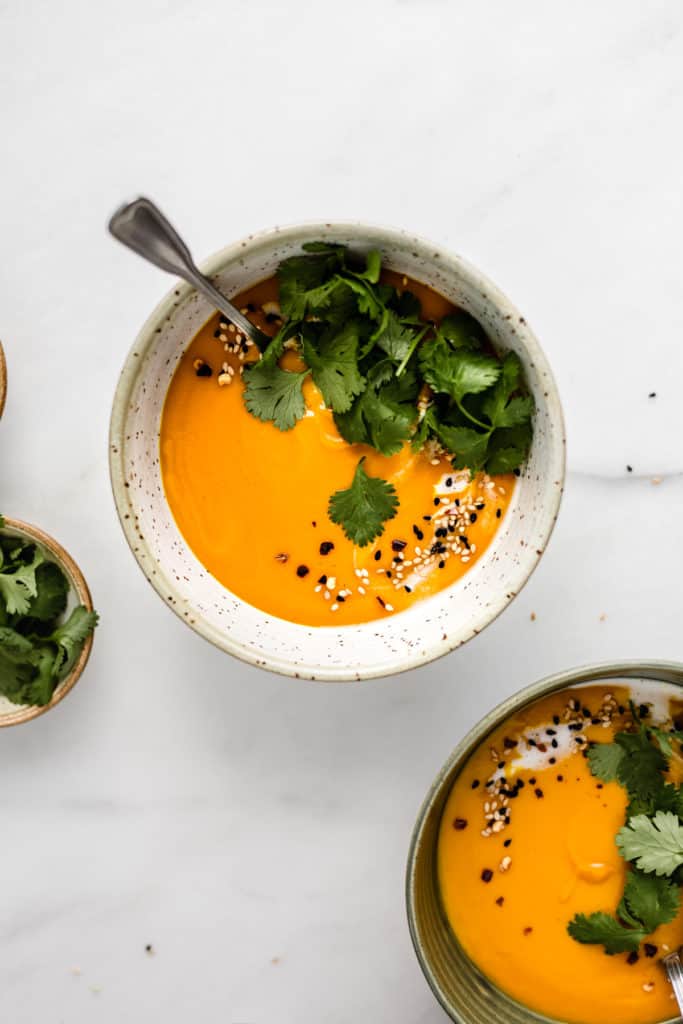
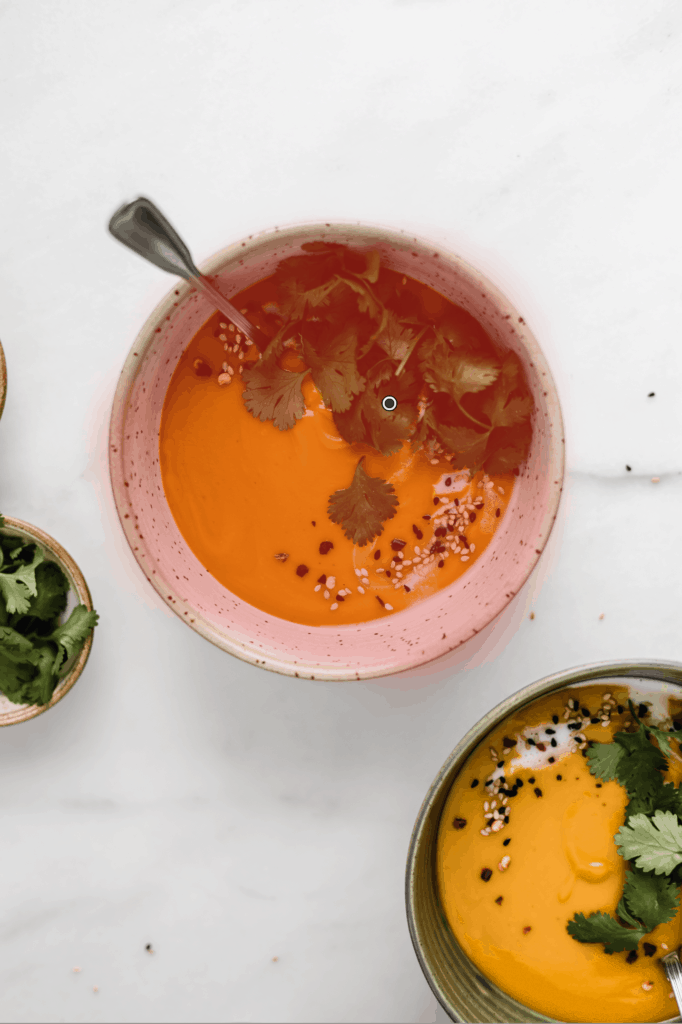
- Pictured left: Butternut squash soup on a marble board with slight edits to the overall image
- Pictured right: Butternut squash soup with selective editing
Key takeaway: Use selective editing when there’s a single element in your image you want to adjust without having to apply to the entire image
5. Heal imperfections
Let’s get real, sometimes our food may not come out *exactly* as we planned, or sneaky dog furs make their way into our plated dish. The spot removal tool is a great way to remove any of those imperfections you don’t want in your image.
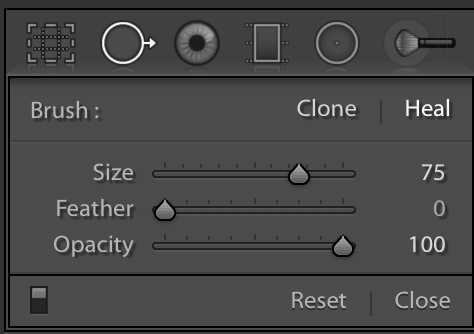
The tool is pretty smart on its own, but you can also manually adjust what it’s replacing the imperfection with if it doesn’t get it right the first time.
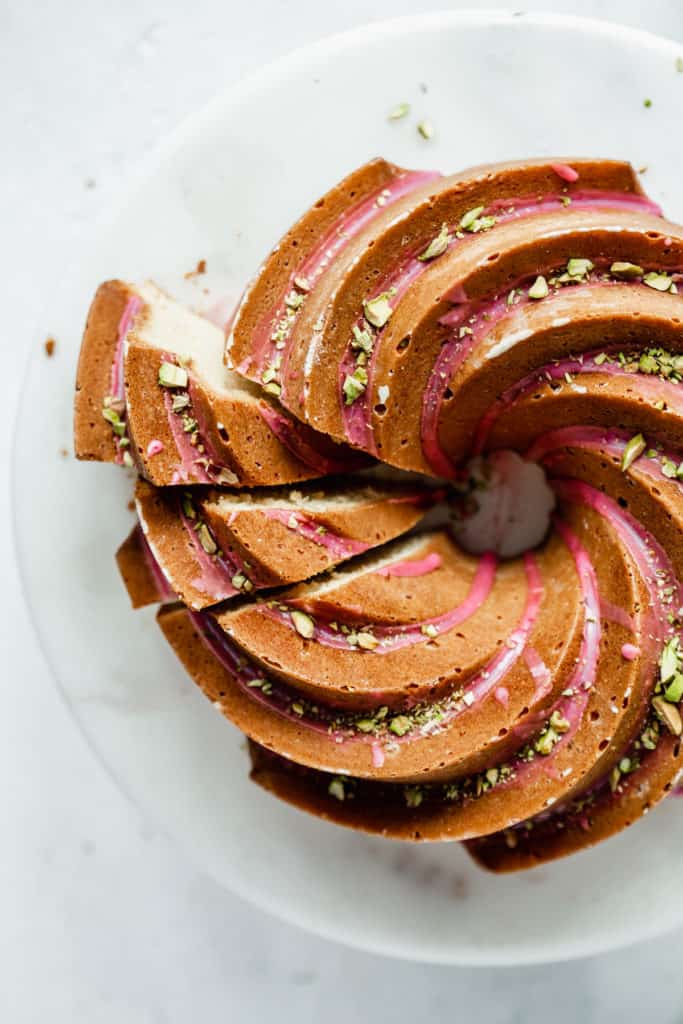
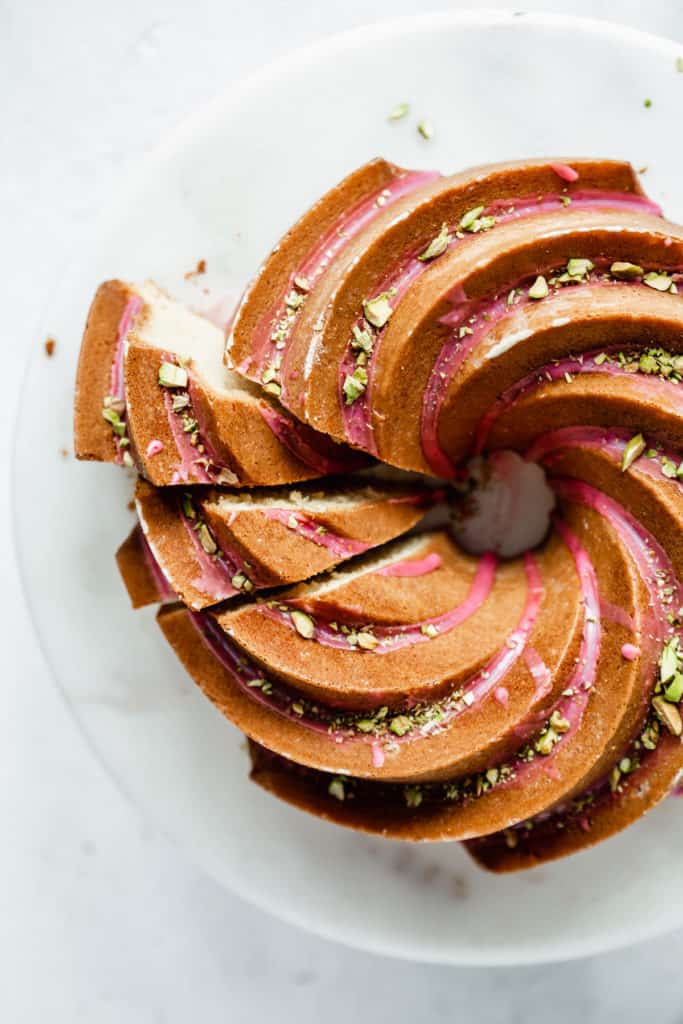
- Pictured left: Orange bundt cake with small cracks on from areas the pan was greased too much
- Pictured right: Orange bundt cake with all holes on top healed
Key takeaway: You may use this tool on some images, but on others, you may not need it at all. It’s great to clean up any crumbs, spots, hairs or other pesky imperfections you only notice once you start editing.
Final takeaways
Lightroom is a powerful program for editing with TONS of amazing features to create stunning photos. These are 5 of my personal favourite editing tools that I like to use to quickly create drool-worthy images.
If there are any other tools you love to use, let me know in the comments below!


This was SO helpful! THANK YOU for sharing this!! I have learned more from this post than from the last few months of trying to figure things out!
You’re welcome Mary!
Nice blog. You are doing nice. Anyway, thank you for sharing this blog with us.
Your welcome!
Dear Jess,
thanks a lot for these tips! As a beginner I still try to figure out how this whole photo taking and editing stuff works. I never used the curve before, now I’m gonna try that 😀
Absolutely, glad you were able to learn something from it! Just have to practice with the curve ?
wow, so that’s how you get your Bundt cake looking so perfect! Thanks for sharing your tips, I always love the outcome of your photos.
Your welcome Emily, hope these tips were helpful!
This post was great. We can’t wait to try these out.
So happy this was helpful for you! Enjoy using them 🙂
Very Useful Information. Thanks for sharing this
Your welcome! Glad it was helpful 🙂