This post may contain affiliate links.
These viral Rice Paper Mochi are worth the hype and surprisingly easy to make! They can be made with Greek yogurt for a high-protein version or whip topping for an ince cream vibe and make a fun treat you can keep stashed in your freezer.
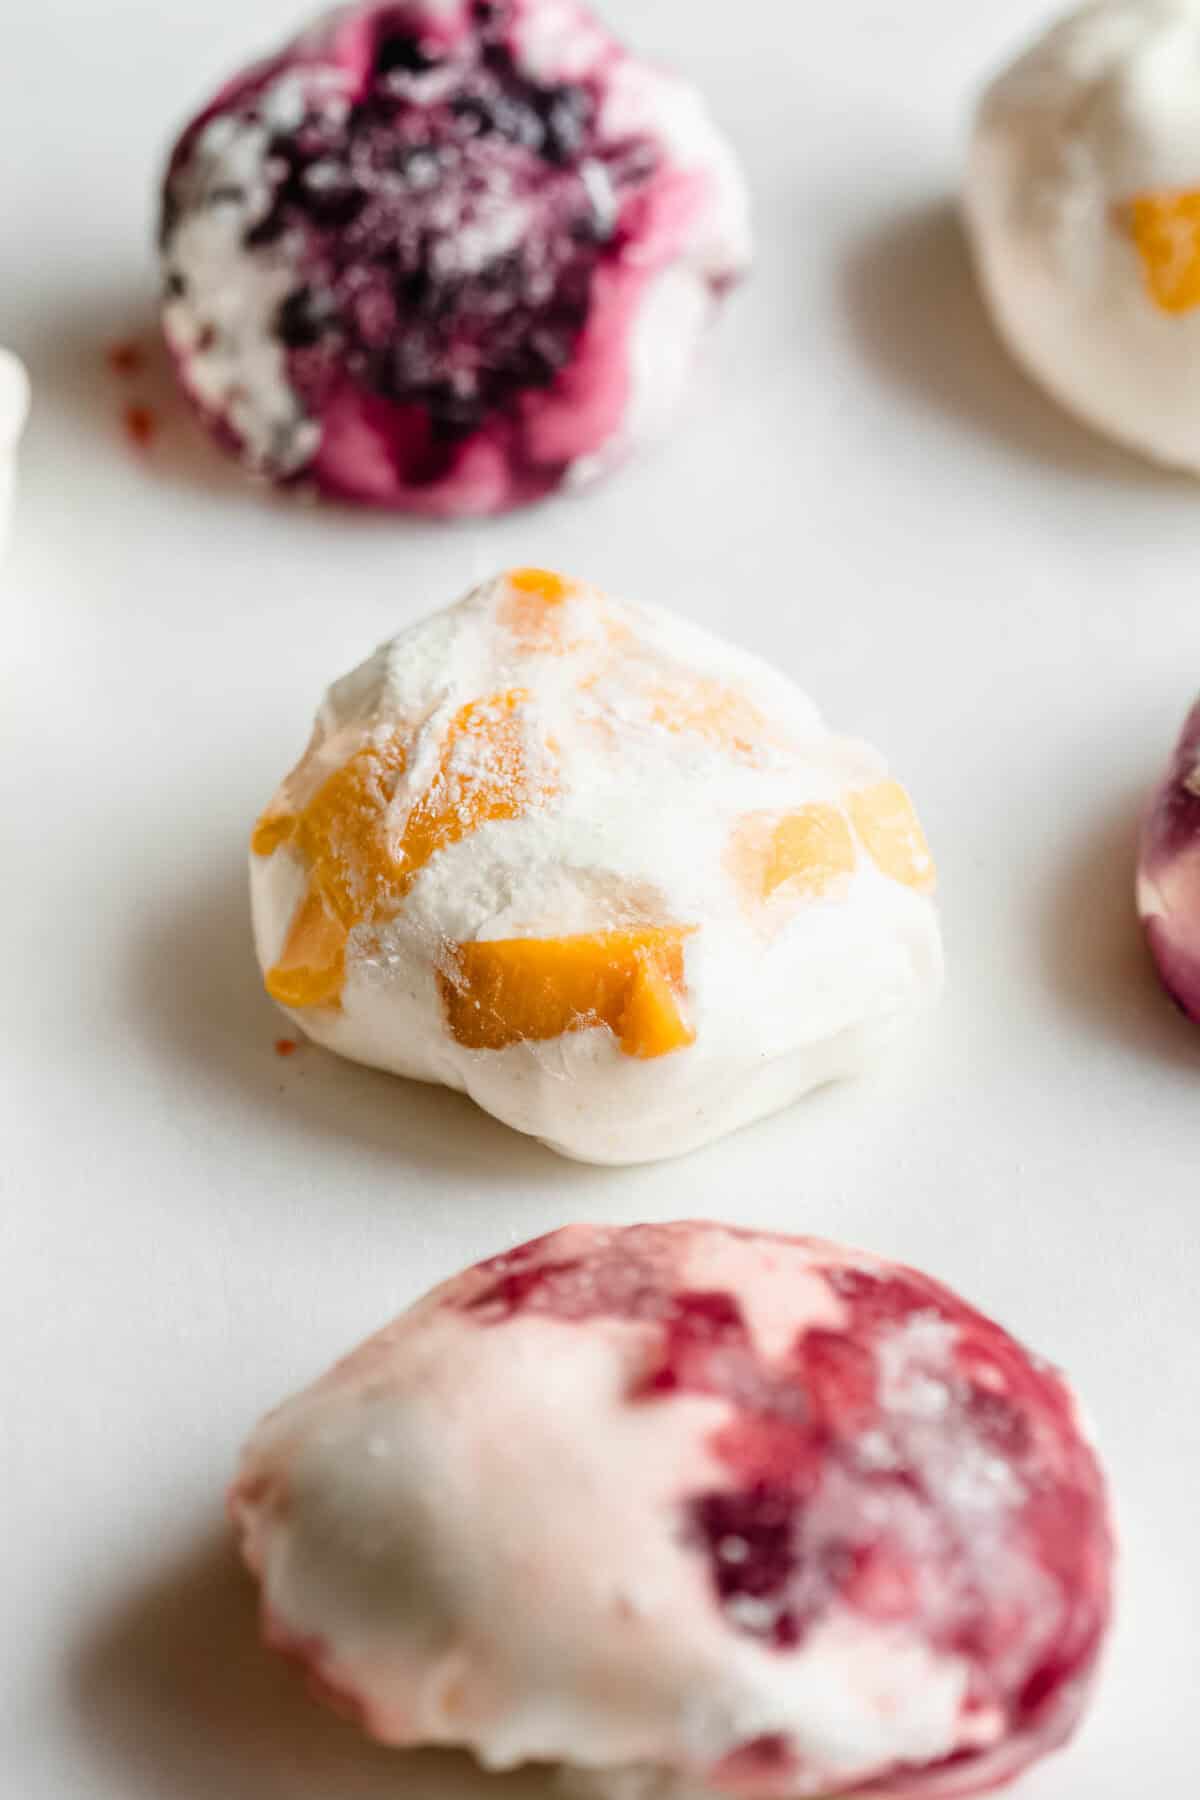
Table of Contents
If you’ve been seeing Rice Paper Mochi all over your feed lately, you’re not alone. This trend took off for a reason: it’s an easy spin on traditional mochi that anyone can make at home. I tested these with three different fruit fillings (mango, strawberry, and blueberry) and two different filling bases (Greek yogurt and whipped topping) and they all came out delicious!
Think of these as a mashup between a fruit mochi and a frozen yogurt bite. If you’re a fan of my Strawberry Cheesecake Popsicles or my creamy Mango Chia Pudding, you’re going to love these.
The yogurt version is higher in protein and makes for a more wholesome snack, while the whipped topping version is fluffier, and leans more into dessert territory. Either way, they’re completely delicious straight from the freezer, and they make a great little treat to pull out when you have friends over or want something fun for the kids. For another freezer treat also try a batch of my cookies and cream protein ninja creami!
Recipe Highlights
- Easy to make: No cooking required, just a few simple steps and a handful of ingredients.
- Customizable: Use any fruit you love and choose between Greek yogurt a or whipped topping like whipped cream, coconut cream or cool whip for the filling. You could even fill these with a batch of my Greek Yogurt Chocolate Mousse for a different variation.
- Gluten-free: These treats are gluten-free friendly and can also be made dairy-free by using coconut whip topping.
- Make-ahead treat: Batch them up and store in the freezer so you always have something on hand. My Frozen Yogurt Granola Cups are another fun snack I like to keep stashed in the freezer.
Ingredient Notes
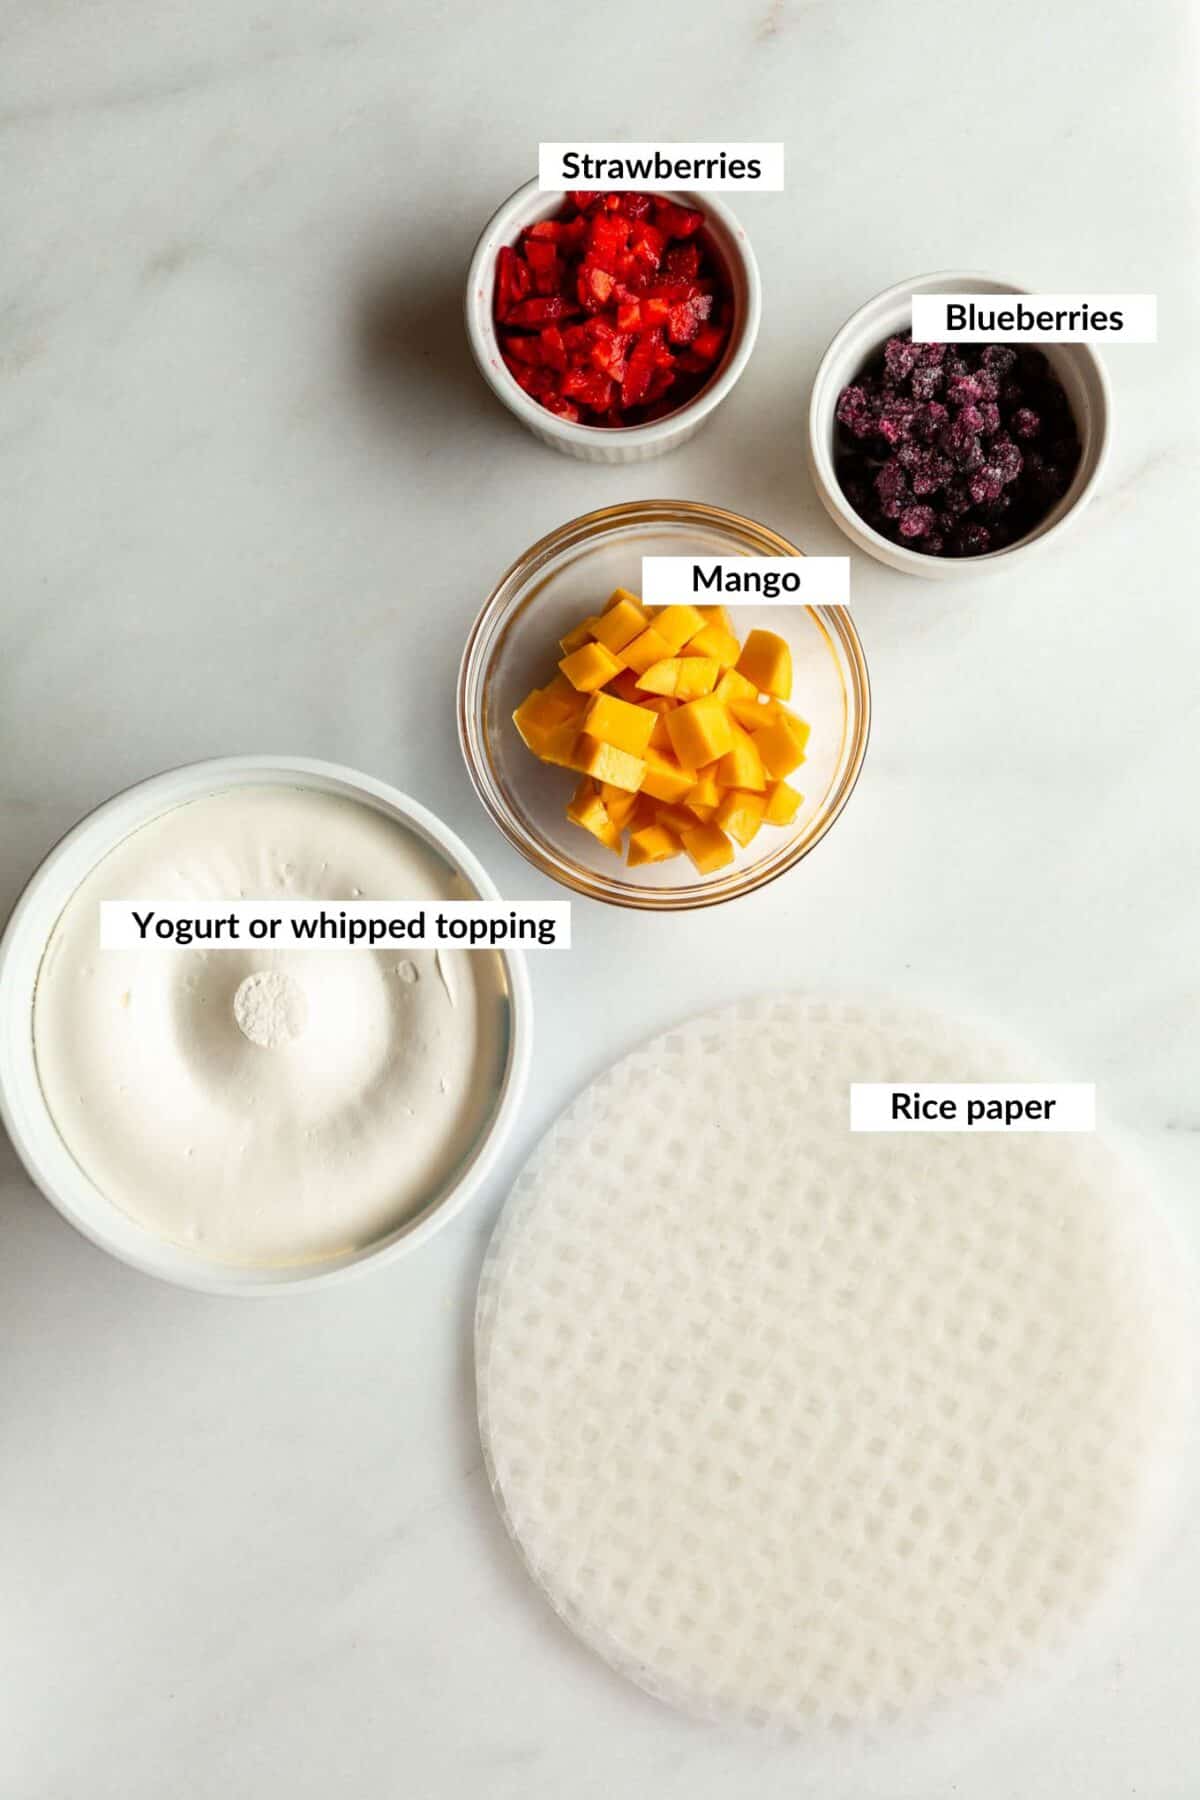
Rice paper sheets: Look for standard round rice paper wrappers (22 cm works well) in the Asian foods aisle or at any Asian grocery store. Use your extra rice paper sheets to make some Vietnamese Fresh Spring Rolls.
Greek yogurt option: Use a thick, 2-8% Greek yogurt for the best texture. The thicker the better, since a watery yogurt will make the filling too loose. Use your favourite flavoured yogurt or go unsweetened and sweeten it yourself with a drizzle of maple syrup or honey and a dash of vanilla extract. This is the same Greek yogurt I love using in my High Protein Banana Pudding.
Whipped topping option: whipped cream, cool whip, or coconut whipped topping (for a dairy-free version) all work great here and give a light and fluffy texture.
Fresh fruit: I used mango, strawberries, and blueberries but you can use any type of fruit you love. Peaches, Raspberries or Bananas like I use in these Banana Cream Pie Overnight Oats would all be great options!
*This is a recipe overview. The full recipe with measurements and instructions can be found below in the recipe card.
How To Make Rice Paper Mochi
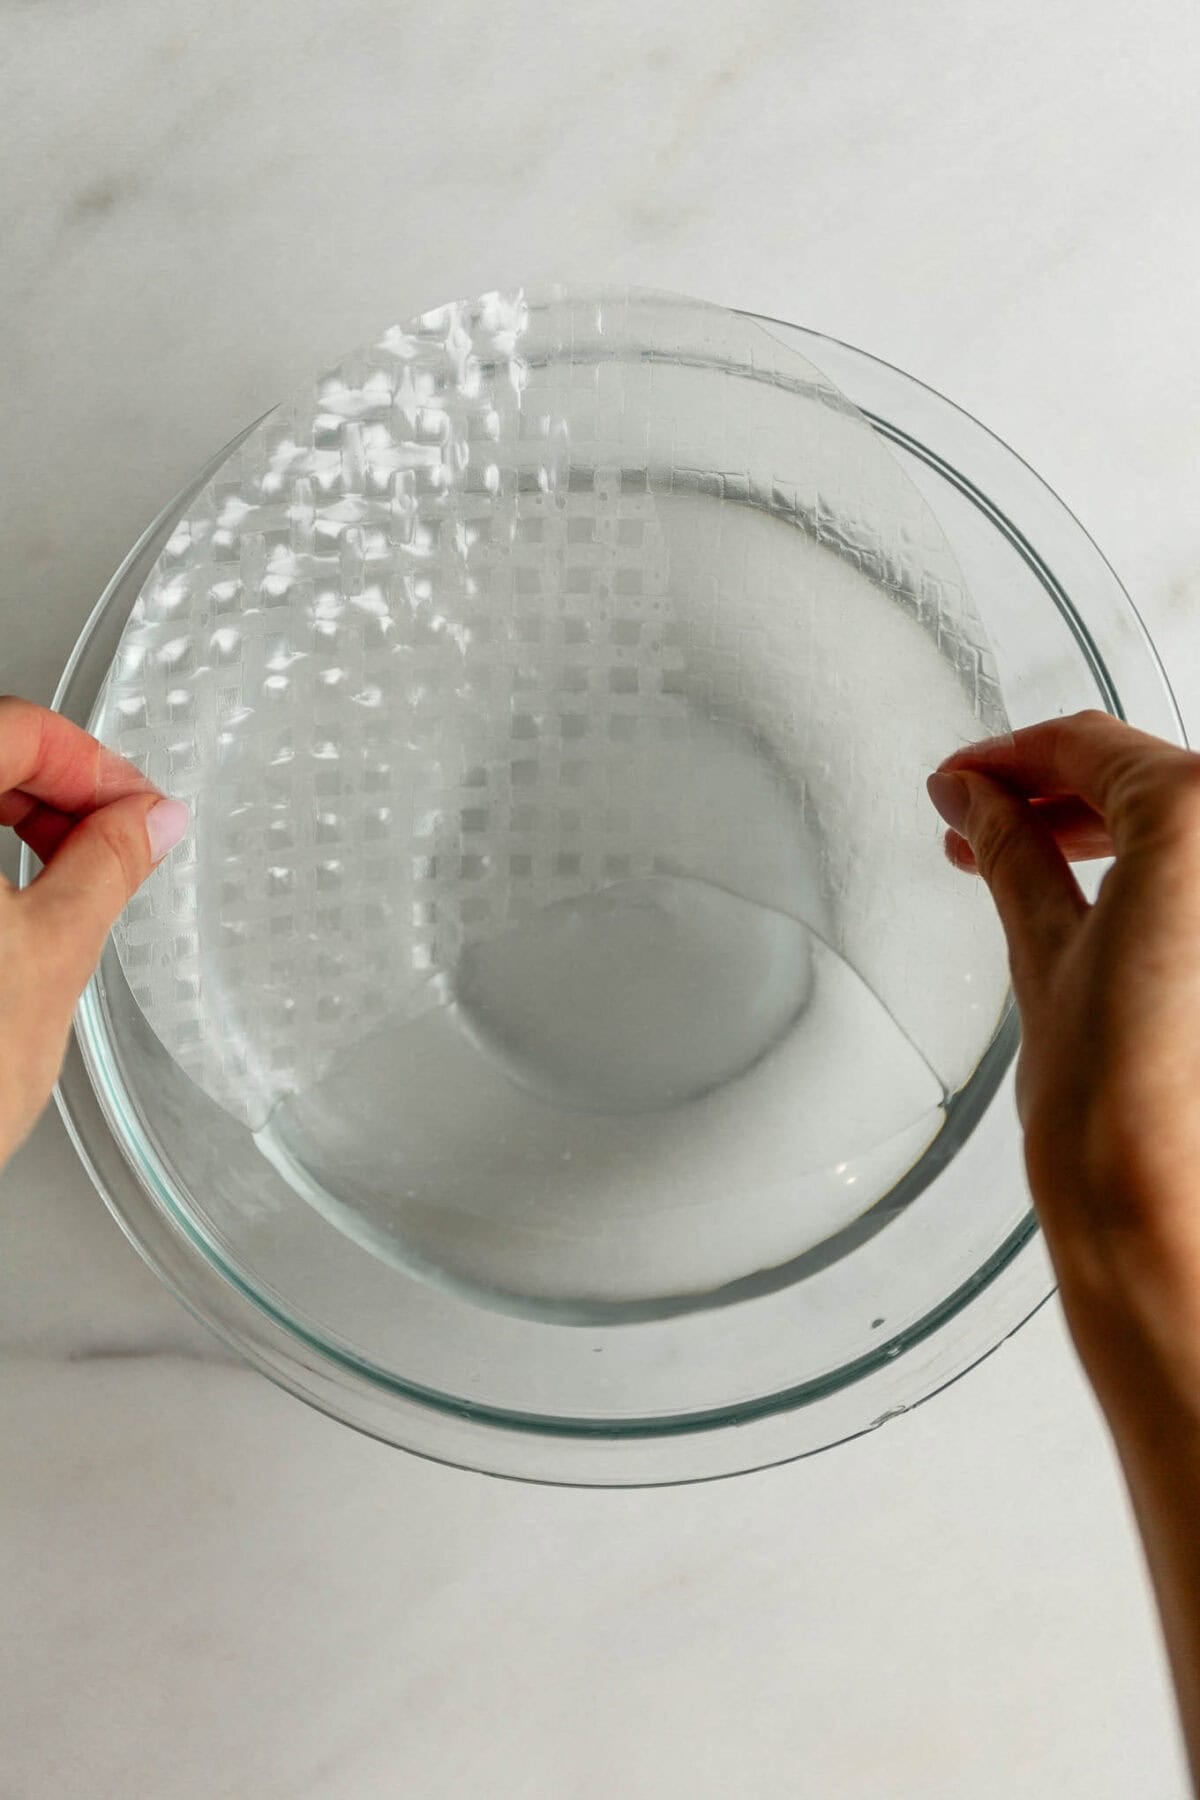
Step 1: Quickly dip the rice paper sheet in a bowl of warm water.
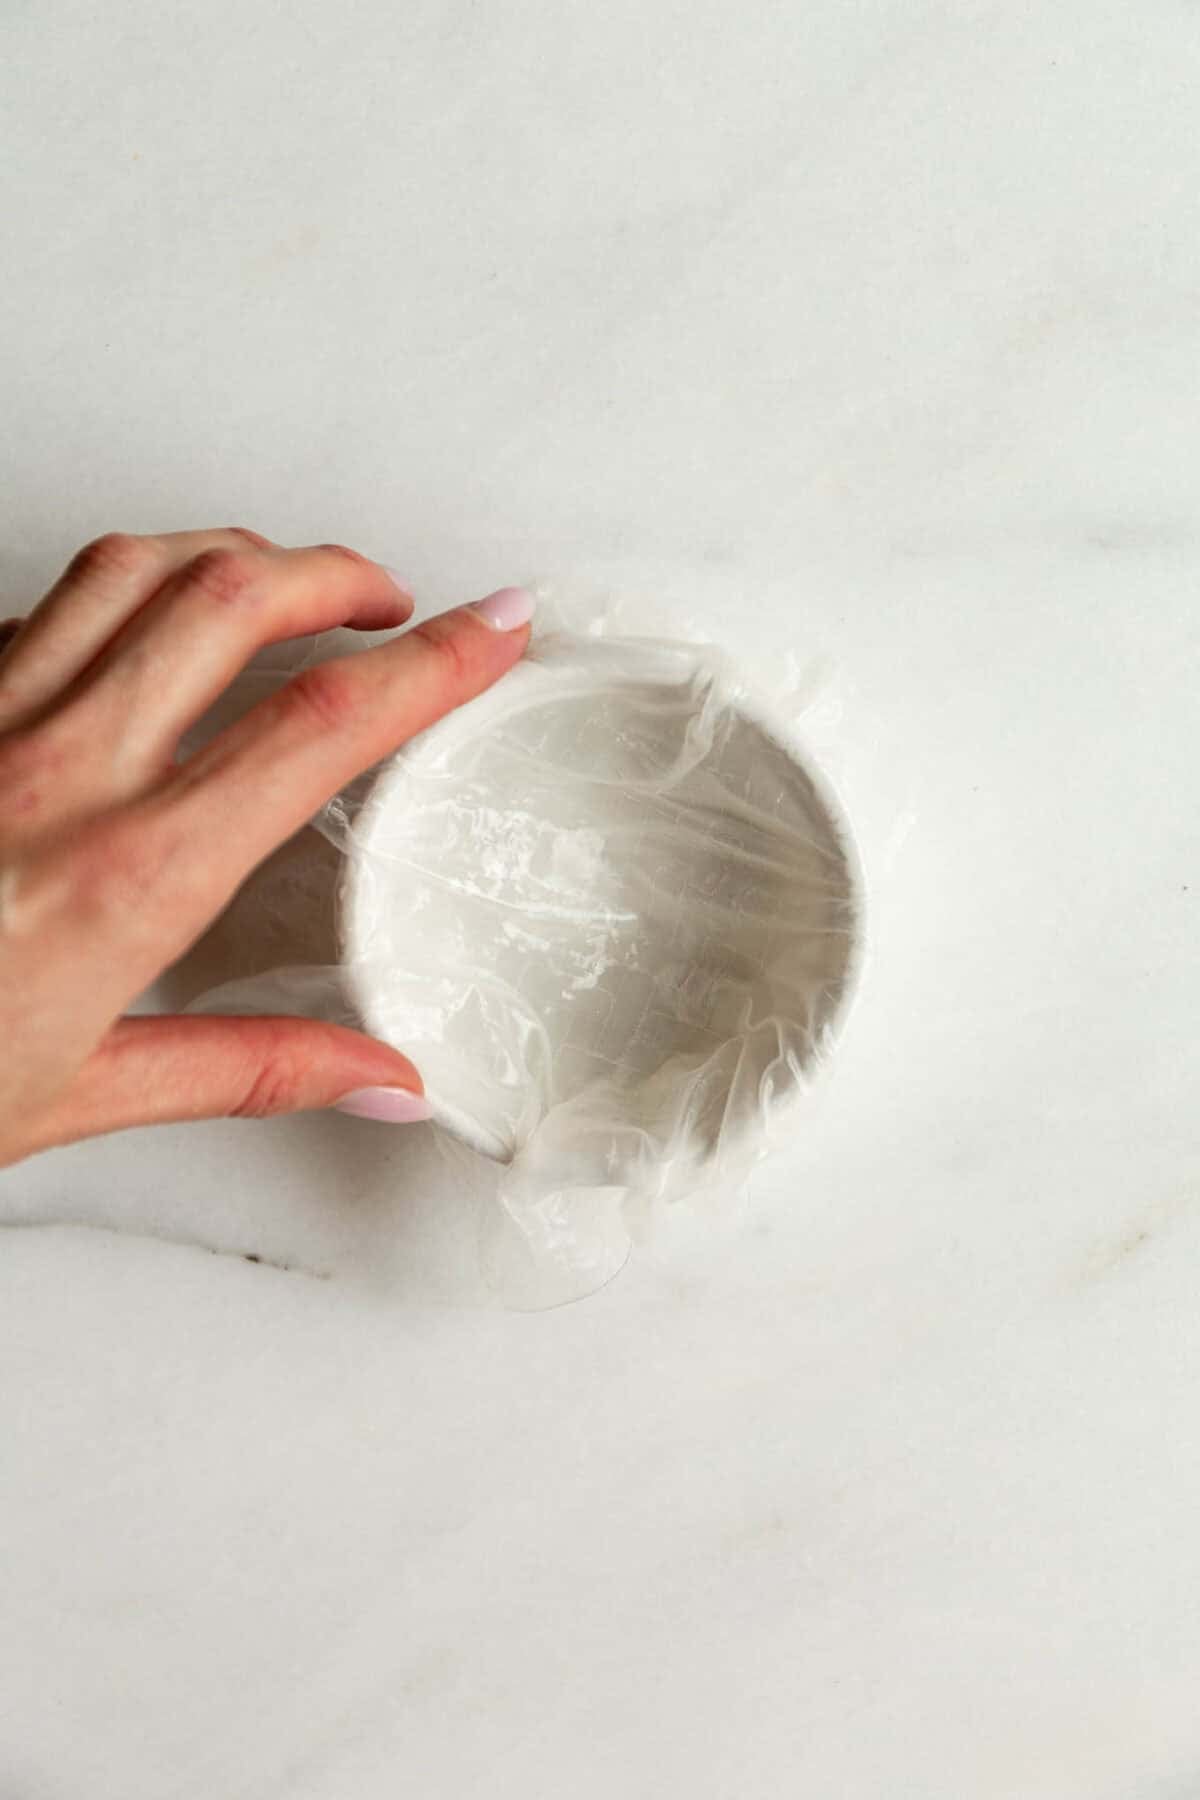
Step 2: Spread the rice paper sheet over a 4oz ramekin dusted with cornstarch.
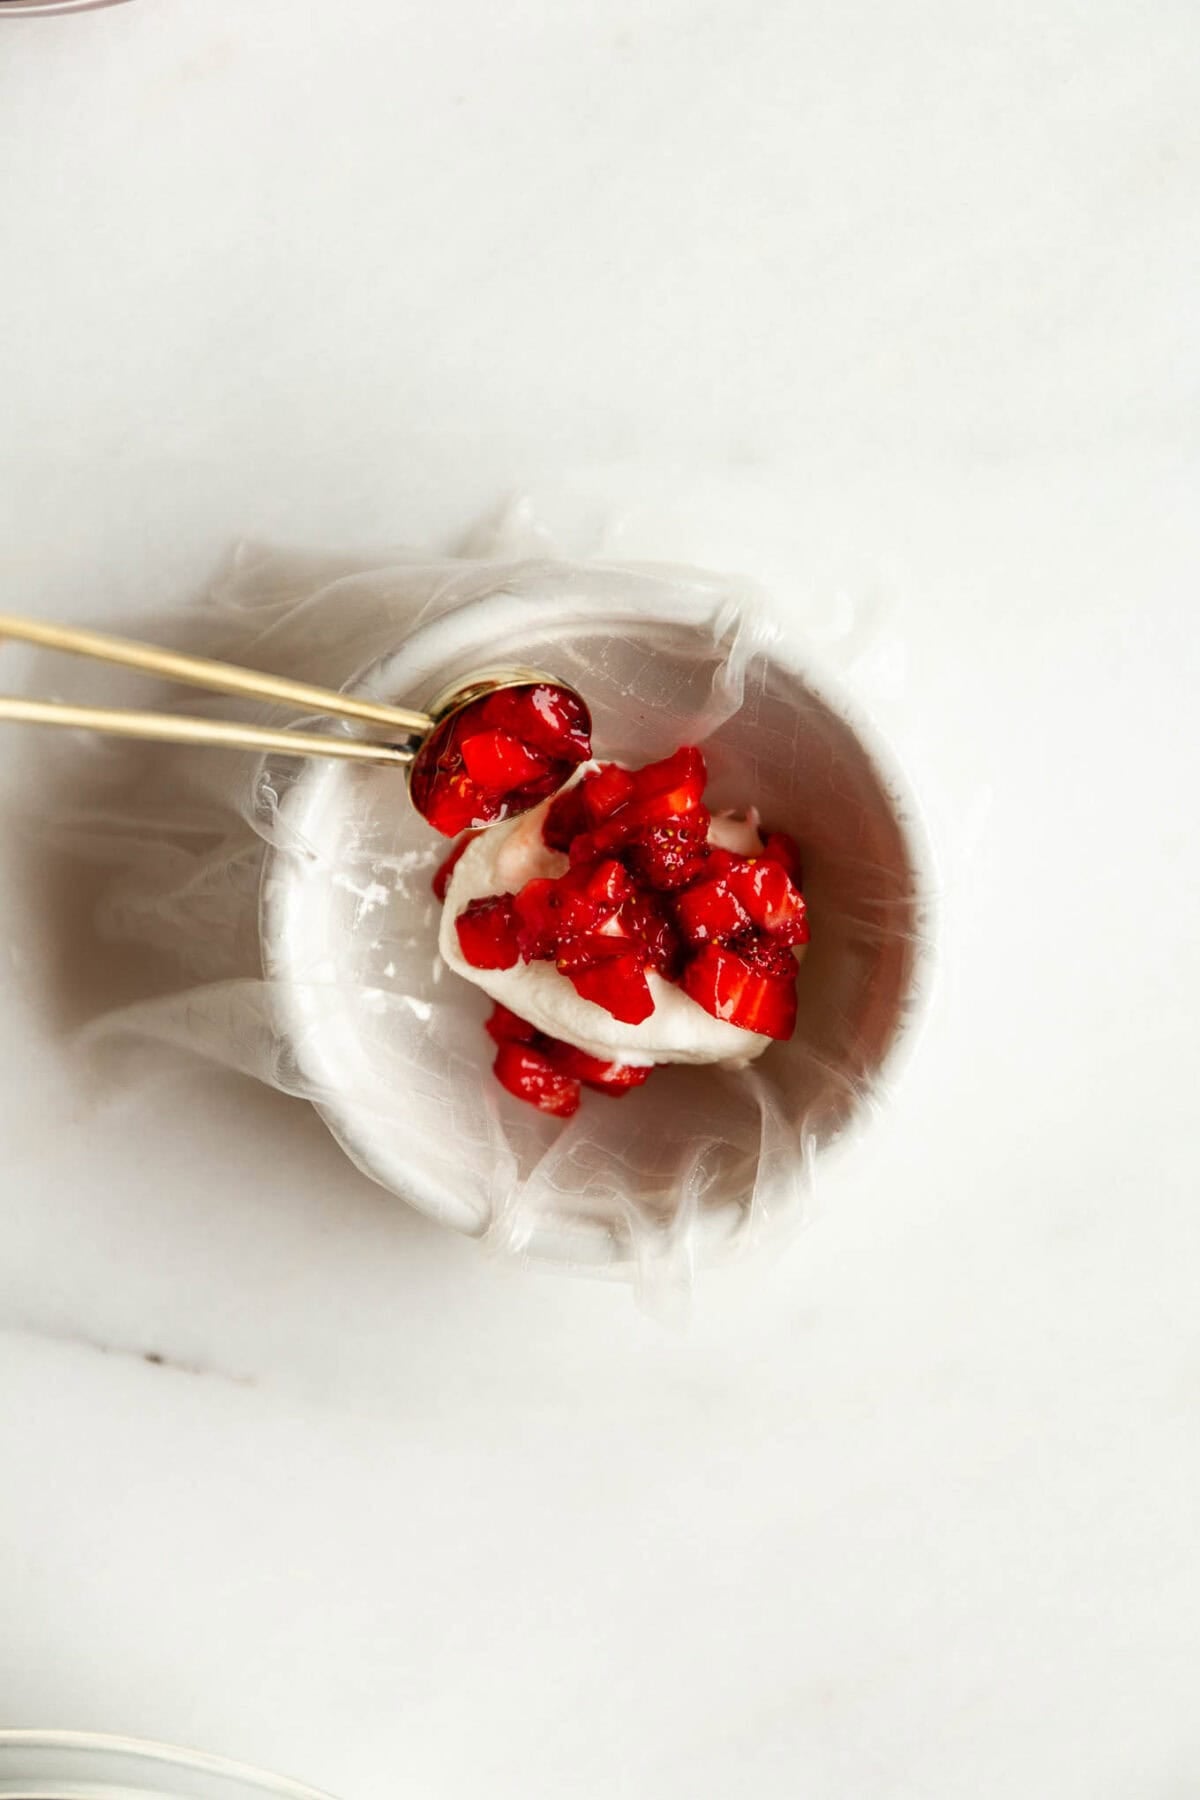
Step 3: layer the fruit on the bottom.
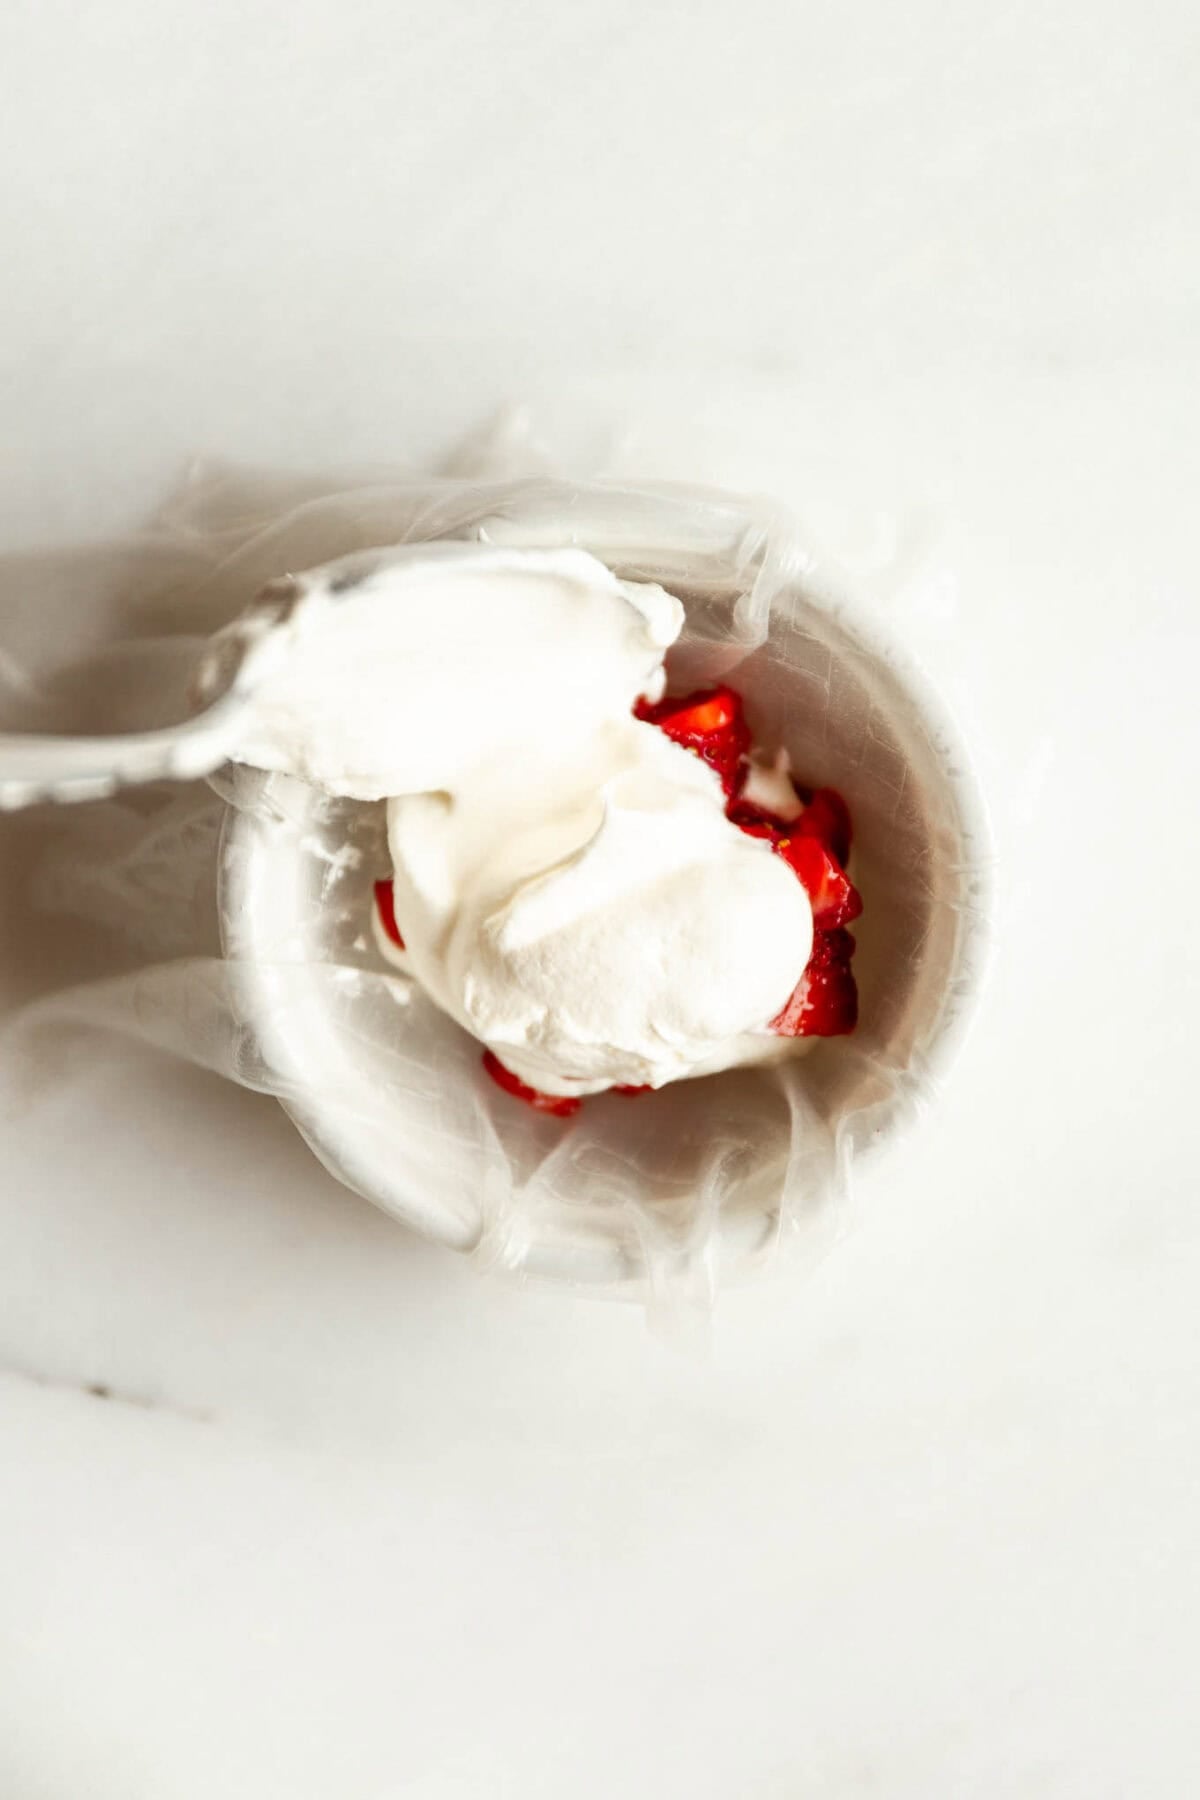
Step 4: Then add a layer of whipped topping and repeat for a second layer.
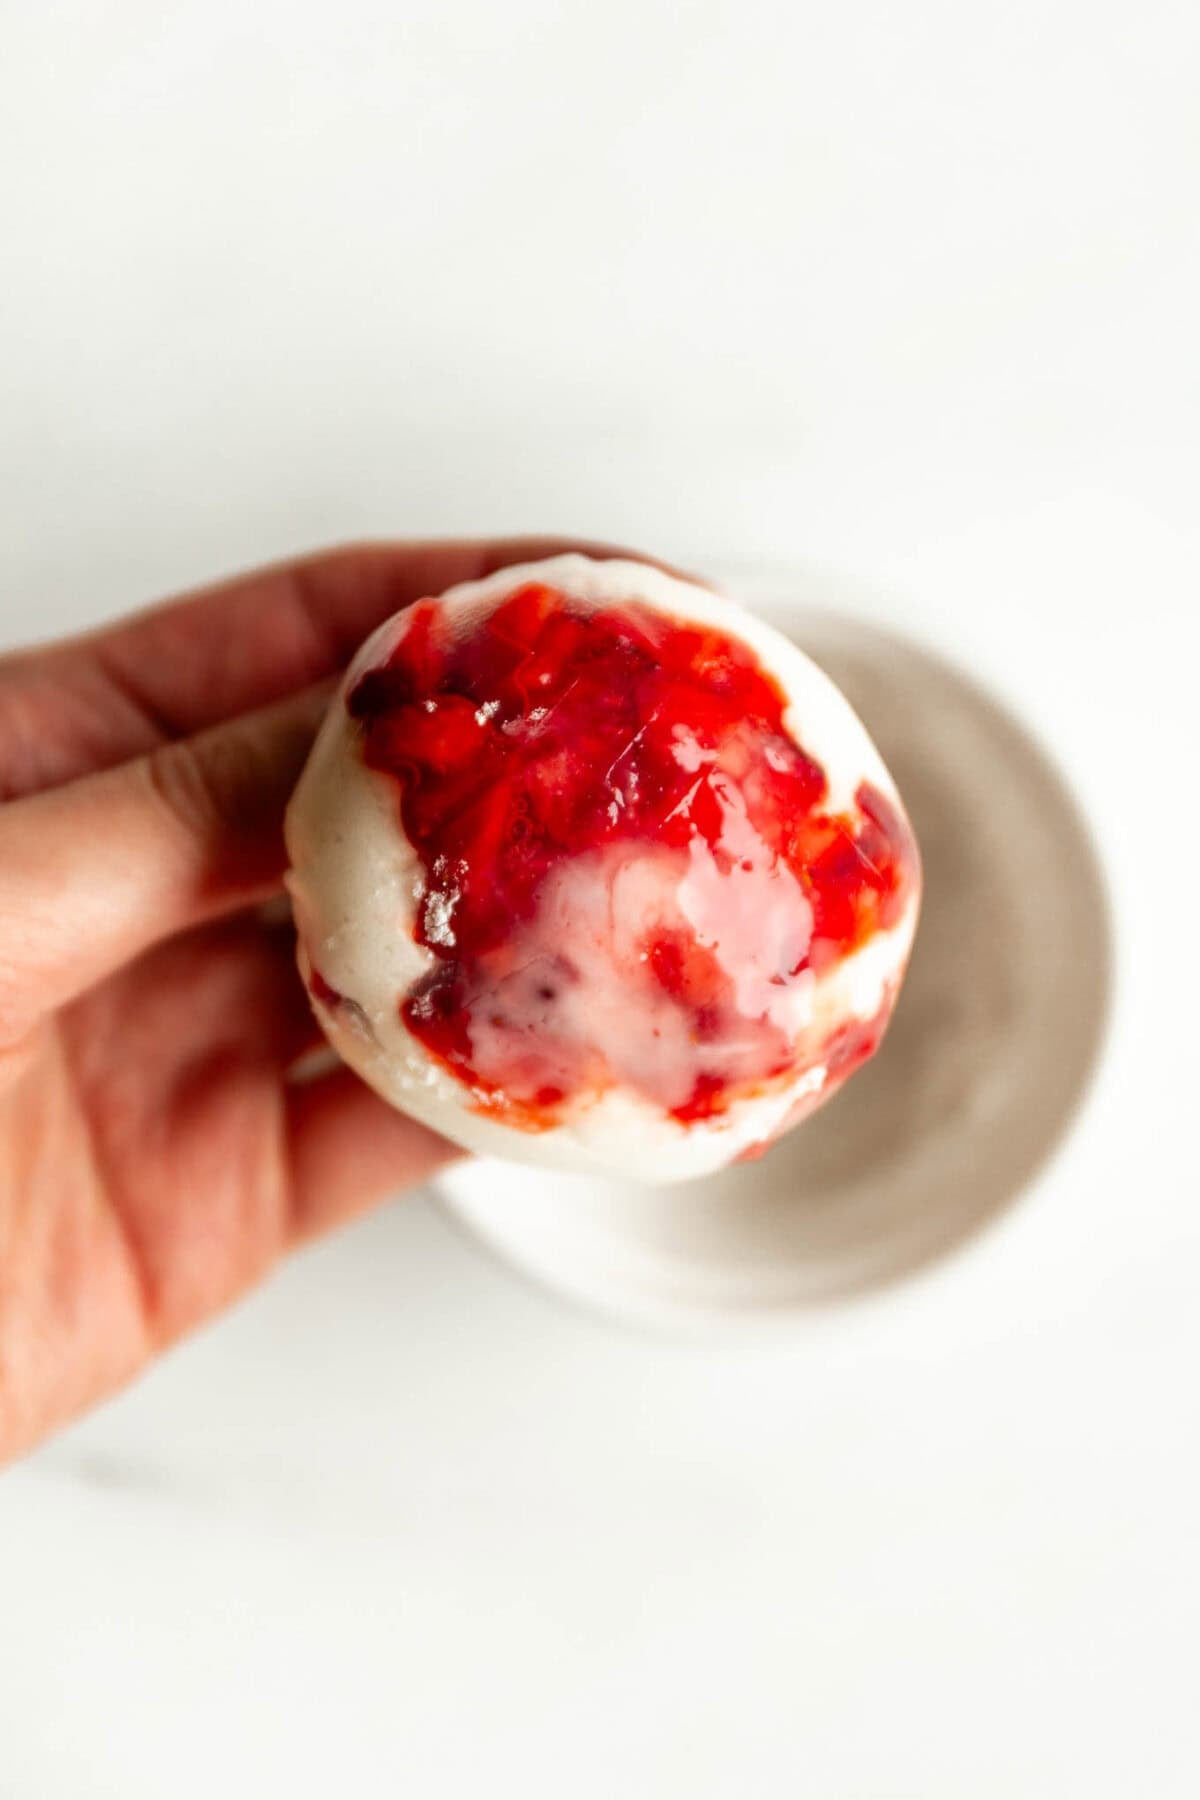
Step 5: Gently fold up the sides of the rice paper sheet and twist.
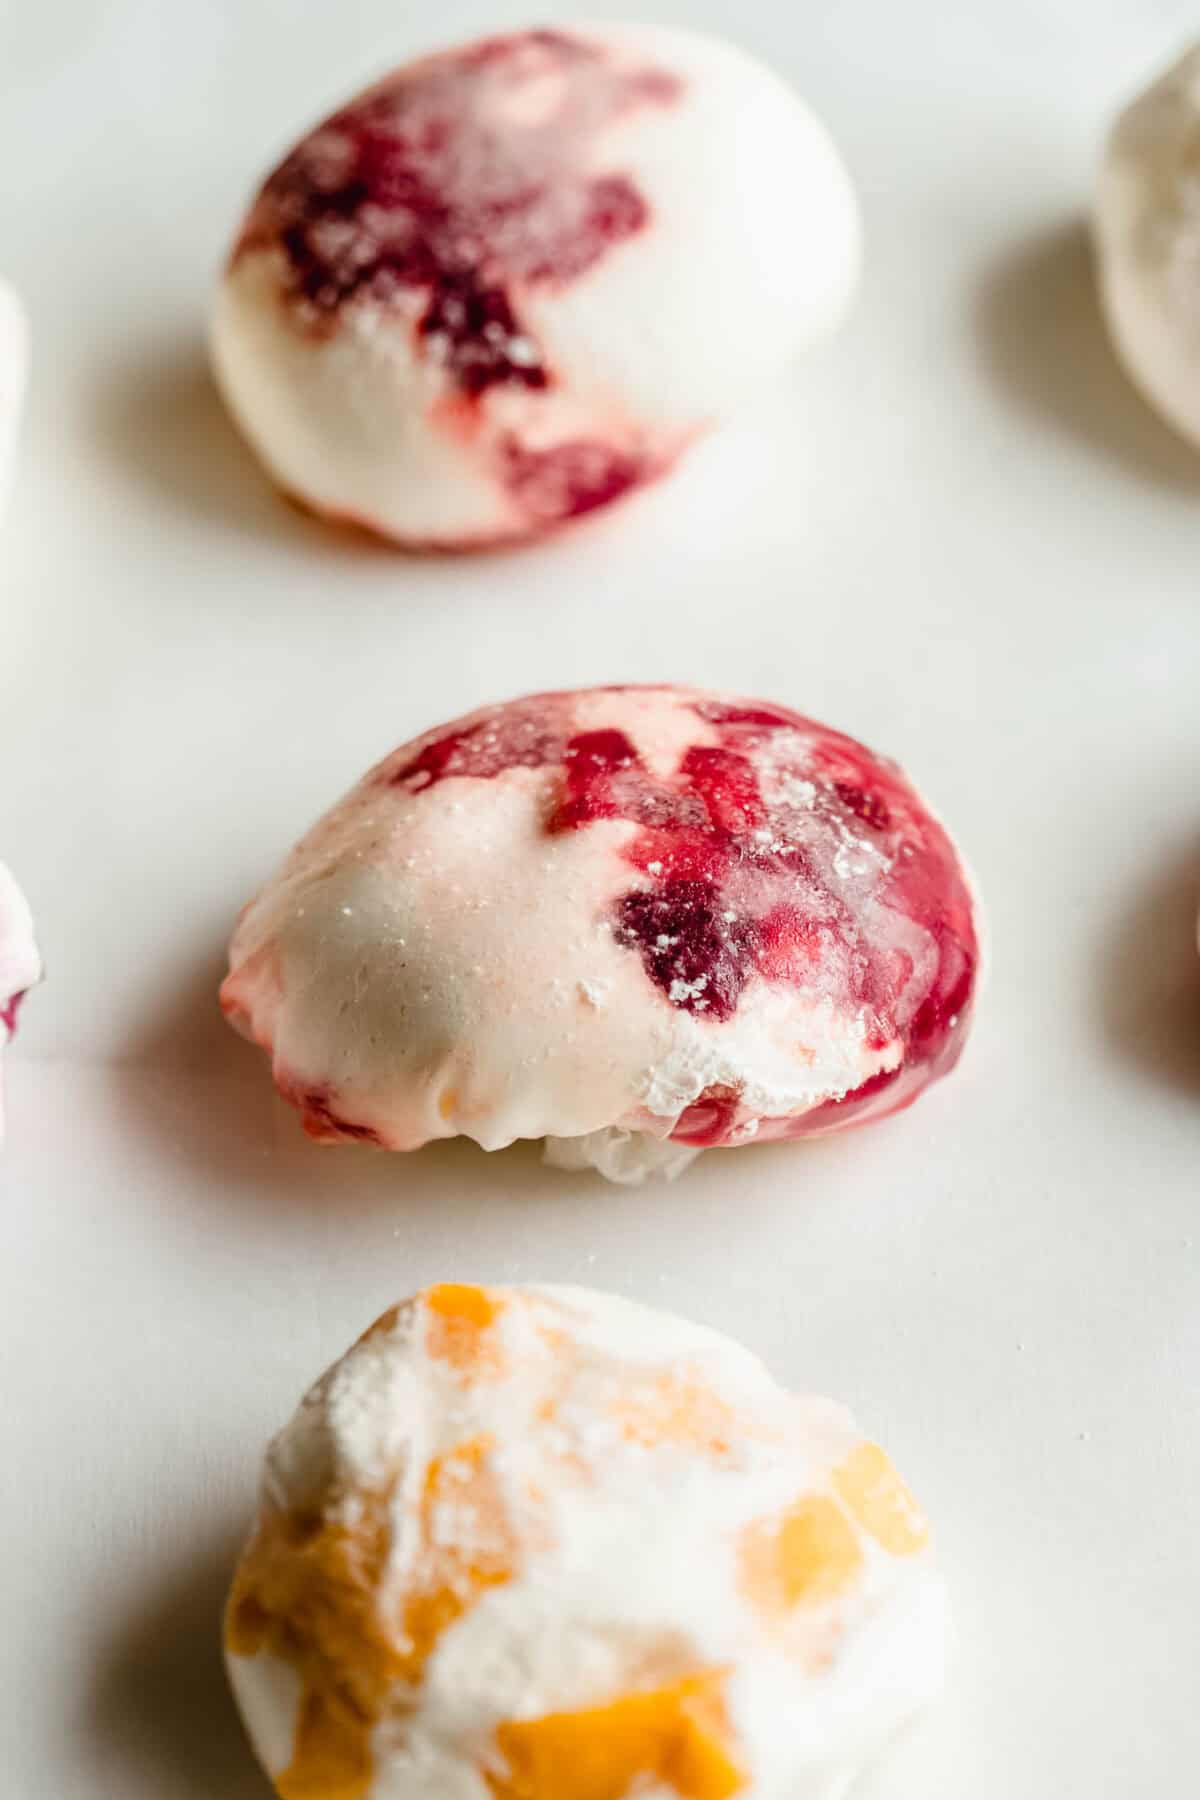
Step 6: Dust with cornstarch and powdered sugar and place in the freezer.
My Tips For Working With Rice Paper
Rice paper is one of those ingredients that feels a little tricky the first time you use it, here are some of my tips:
- Don’t over-soak the rice paper. You only need to dip it in warm water for about 5-10 seconds. It will continue to soften as you work with it, so if it feels slightly firm when you place it over the ramekin, that’s fine!
- Warm water, NOT hot. Hot water makes the sheets too soft too quickly.
- Move gently and quickly. Once the rice paper is pliable, it’s delicate. Handle it with care when gathering the edges and twisting.
How To Store
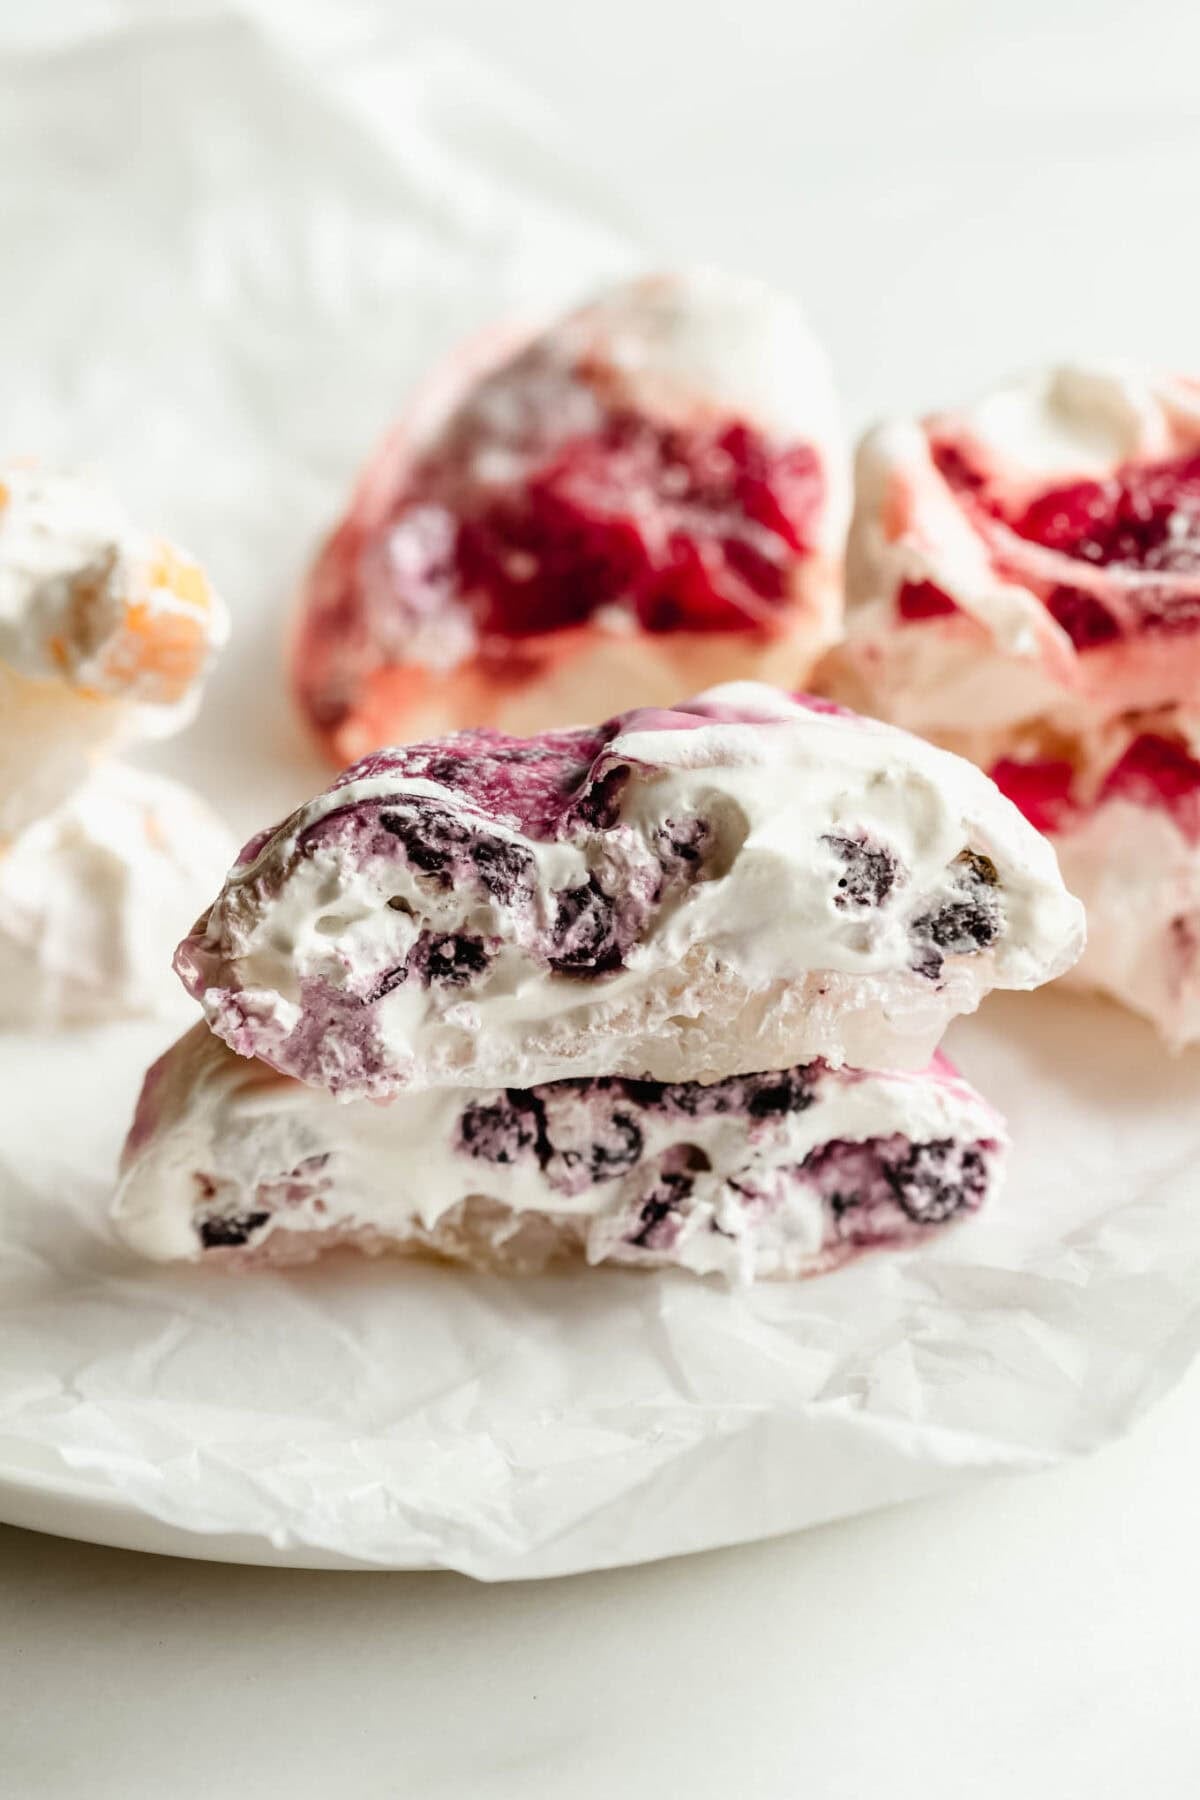
Store your rice paper mochi on a parchment-lined baking sheet in the freezer for up to 2 weeks, loosely covered once fully frozen. When you’re ready to eat them, let them sit at room temperature for 5 to 10 minutes to thaw slightly for the best texture.
Jess’s Tips
- Use thick yogurt: The thicker your Greek yogurt, the better the filling will hold its shape. If your yogurt is on the runnier side, strain it through a cheesecloth or fine mesh sieve for 30 minutes before using.
- Dust the ramekin: Adding a sprinkle of cornstarch to the ramekin before adding the rice paper with help prevent the mochi from sticking. You can use a 4-6 inch ramekin. I use a 4 inch one like I use for my Almond Croissant Baked Oats.
- Don’t overfill: It’s tempting to load up the filling, but a small spoonful of each layer is all you need. Overfilling makes it hard to close the rice paper without tearing it.
- Cut off the excess rice paper: After folding and closing the top, if you have any excess rice paper clumped together you can cut it away.
- Eat slightly thawed: Straight from the freezer, these are very firm. Thaw for about 5-10 minutes for the best texture.
- Macerate the berries for more flavour: Tossing the chopped strawberries or blueberries with 1-2 teaspoons of maple syrup for a few minutes pulls out their juices and intensifies the flavour. It’s totally optional but I find it makes a big difference!
Frequently Asked Questions
Rice paper mochi is a TikTok viral take on traditional Japanese mochi made using rice paper wrappers instead of glutinous rice dough. While they’re definitely not the same thing as traditional mochi, they’re a fun easy treat with a similar vibe.
This usually happens when the rice paper has been soaked too long or in water that’s too hot. Use warm water (not hot) and soak for just 5-10 seconds. The sheet should feel pliable but not completely limp when you lift it out.
Try These Dessert Recipes Next!



Tried these Viral Rice Paper Mochi? Leave a review below and tag me @choosingchia on Instagram, TikTok, or Facebook I love seeing your recreations!

Rice Paper Mochi
- Prep Time: 20 minutes
- Cook Time: 0 minutes
- Total Time: 1 hour 20 minutes
- Yield: 6 mochi
- Category: Dessert
- Method: No-Cook
- Cuisine: Asian
- Diet: Gluten-Free, Vegetarian
Description
These Viral Rice Paper Mochi are light, creamy and so fun to make! Keep them stashed in your freezer whenever you need an easy fun treat.
Ingredients
- 1/2 cup mango, diced small
- 1/2 cup strawberries, finely chopped
- 1/2 cup blueberries, finely chopped
- 2 teaspoons maple syrup, divided (optional, for macerating berries)
- 1 cup thick Greek yogurt OR 1 cup whipped topping such as Cool Whip
- 1–2 tbsp maple syrup (optional, to sweeten the yogurt)
- 1 tsp vanilla extract (optional, to flavour the yogurt)
- 6 round rice paper sheets
- 1 teaspoon cornstarch, plus more for dusting the ramekin
- 1 teaspoon powdered sugar
Instructions
- Prep the fruit: Dice the mango into small pieces and set aside. Finely chop the strawberries and blueberries separately. If macerating, toss each berry separately with 1 teaspoon maple syrup and let sit for a few minutes.
- Prep the filling: If using plain Greek yogurt, stir in the maple syrup, vanilla extract. If using whipped topping, it’s ready to use as is.
- Prep the dusting: mix the cornstarch and powdered sugar together. Set aside.
- Soften the rice paper: Fill a large, shallow bowl with warm (not hot) water. Dip one rice paper sheet into the water for 5 to 10 seconds, until just pliable. Carefully lay it over a ramekin that’s been dusted with a bit of cornstarch, letting the edges drape over the sides. Once soft enough, gently press it into the ramekin.
- Layer the filling: Add a small spoonful of fruit into the centre of the rice paper, followed by a small spoonful of yogurt or whipped topping. Repeat with another layer of fruit and filling.
- Wrap the mochi: Gently gather the overhanging edges of the rice paper up and around the filling, then twist them together at the top to seal. Use kitchen scissors to snip off the excess rice paper close to the twist. Lightly dust the mochi with the powdered mixture.
- Freeze: Gently flip the mochi out of the ramekin and place it seam-side down on a parchment-lined baking sheet. Repeat steps 4 through 7 with the remaining rice paper sheets, making 2 mochi of each fruit flavour. Freeze for at least 1 hour.
- Serve: Remove from the freezer and let sit at room temperature for 5 to 10 minutes before eating.
Notes
If using yogurt use thick Greek yogurt for best results
Don’t forget to dust the ramekins with cornstarch to prevent the rice papers from sticking
Don’t overfill the mochi
Trim away any excess rice paper with kitchen scissors
Store in the freezer
Nutrition
- Serving Size: 1 mochi
- Calories: 95
- Sugar: 10
- Fat: 1
- Carbohydrates: 17
- Fiber: 1
- Protein: 4