This post may contain affiliate links.
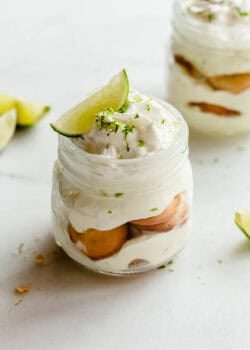
These Key Lime Pie Pudding Jars taste just like key lime pie, but they’re made with Greek yogurt so each jar has 12 grams of protein. All you need is one bowl and about 10 minutes to prep with no baking required!
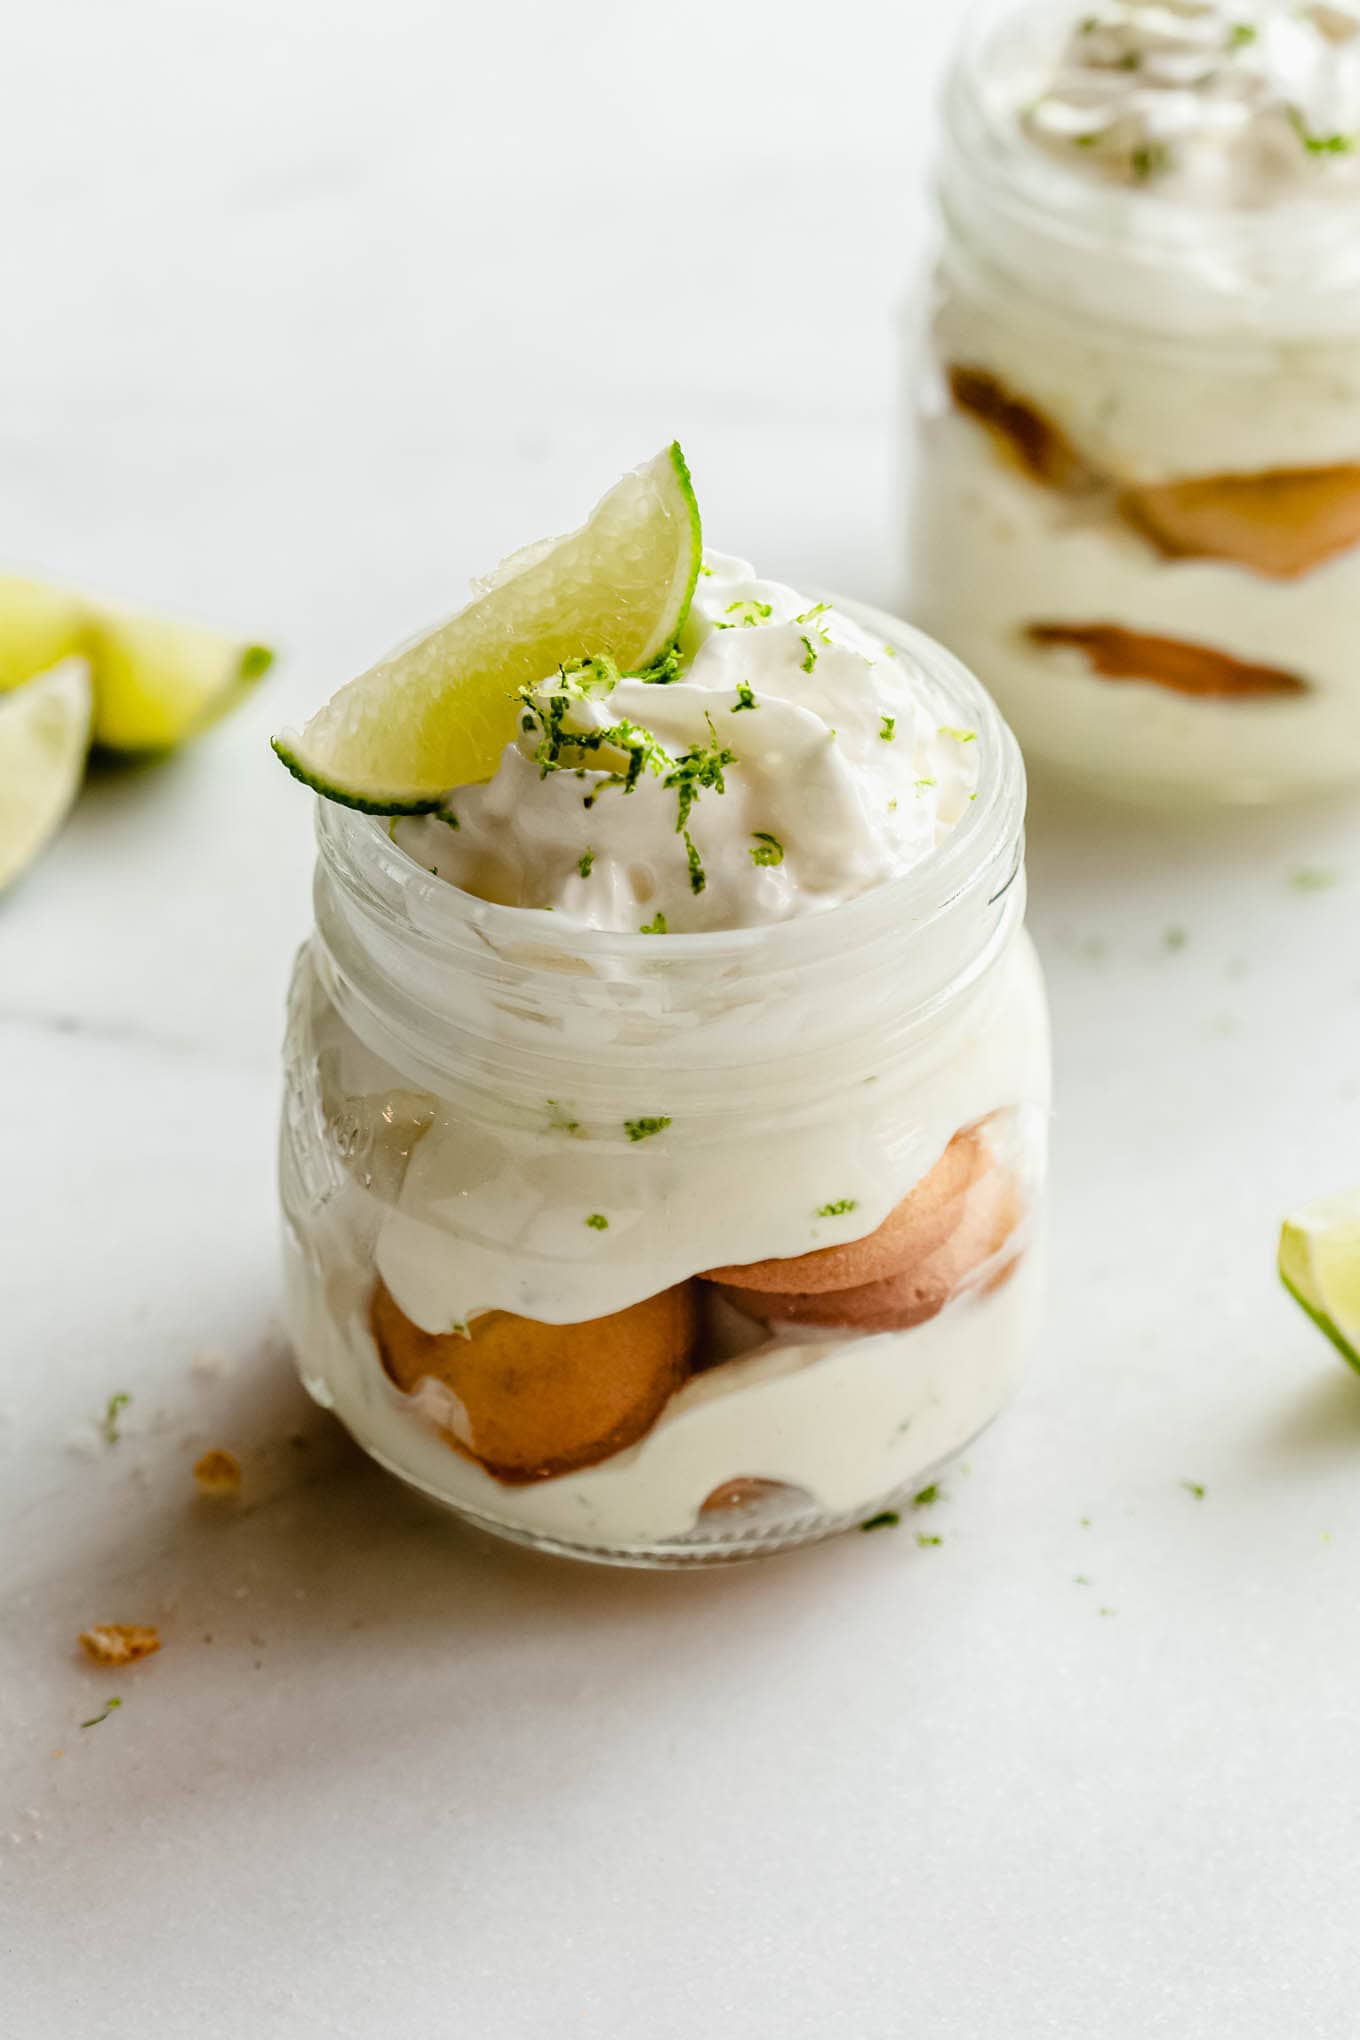
If you loved my High Protein Banana Pudding, these Key Lime Pie Jars with Greek Yogurt are for you. It uses the same creamy Greek yogurt base, but with fresh lime juice and plenty of lime zest for that tangy key lime pie flavour we all know and love. For a different variation also try my Strawberry Cheesecake Pudding Jars!
The secret to these jars is using vanilla pudding mix which thickens the Greek yogurt into a rich and creamy, almost like a key lime cheesecake filling. I layer the filling with Nilla wafers that soften and become cake-like as they sit but you could go for graham crackers if that’s your preference.
These jars are perfect for meal prep too. Make a couple of jars at the start of the week and you’ve got a high-protein snack or dessert ready to grab from the fridge. If you can’t get enough of key lime make sure to also try my Key Lime Pie Overnight Oats for breakfast and my Key Lime Pie Chia Pudding.
Recipe Highlights
- 12 grams of protein per jar: Thanks to the Greek yogurt these jars are packed with protein to keep you feeling full and satisfied. Also try my Greek yogurt Chocolate Mousse or Greek Yogurt Peanut Butter Mousse for another high-protein dessert.
- So much easier than key lime pie: No crust to press, no filling to bake, no waiting hours for it to set. Just mix, layer, and enjoy!
- No-bake: The vanilla pudding mix thickens the yogurt into a rich, mousse-like filling with no baking involved.
- Meal prep friendly: These store well in the fridge making them an easy make-ahead snack or dessert.
Key Ingredients
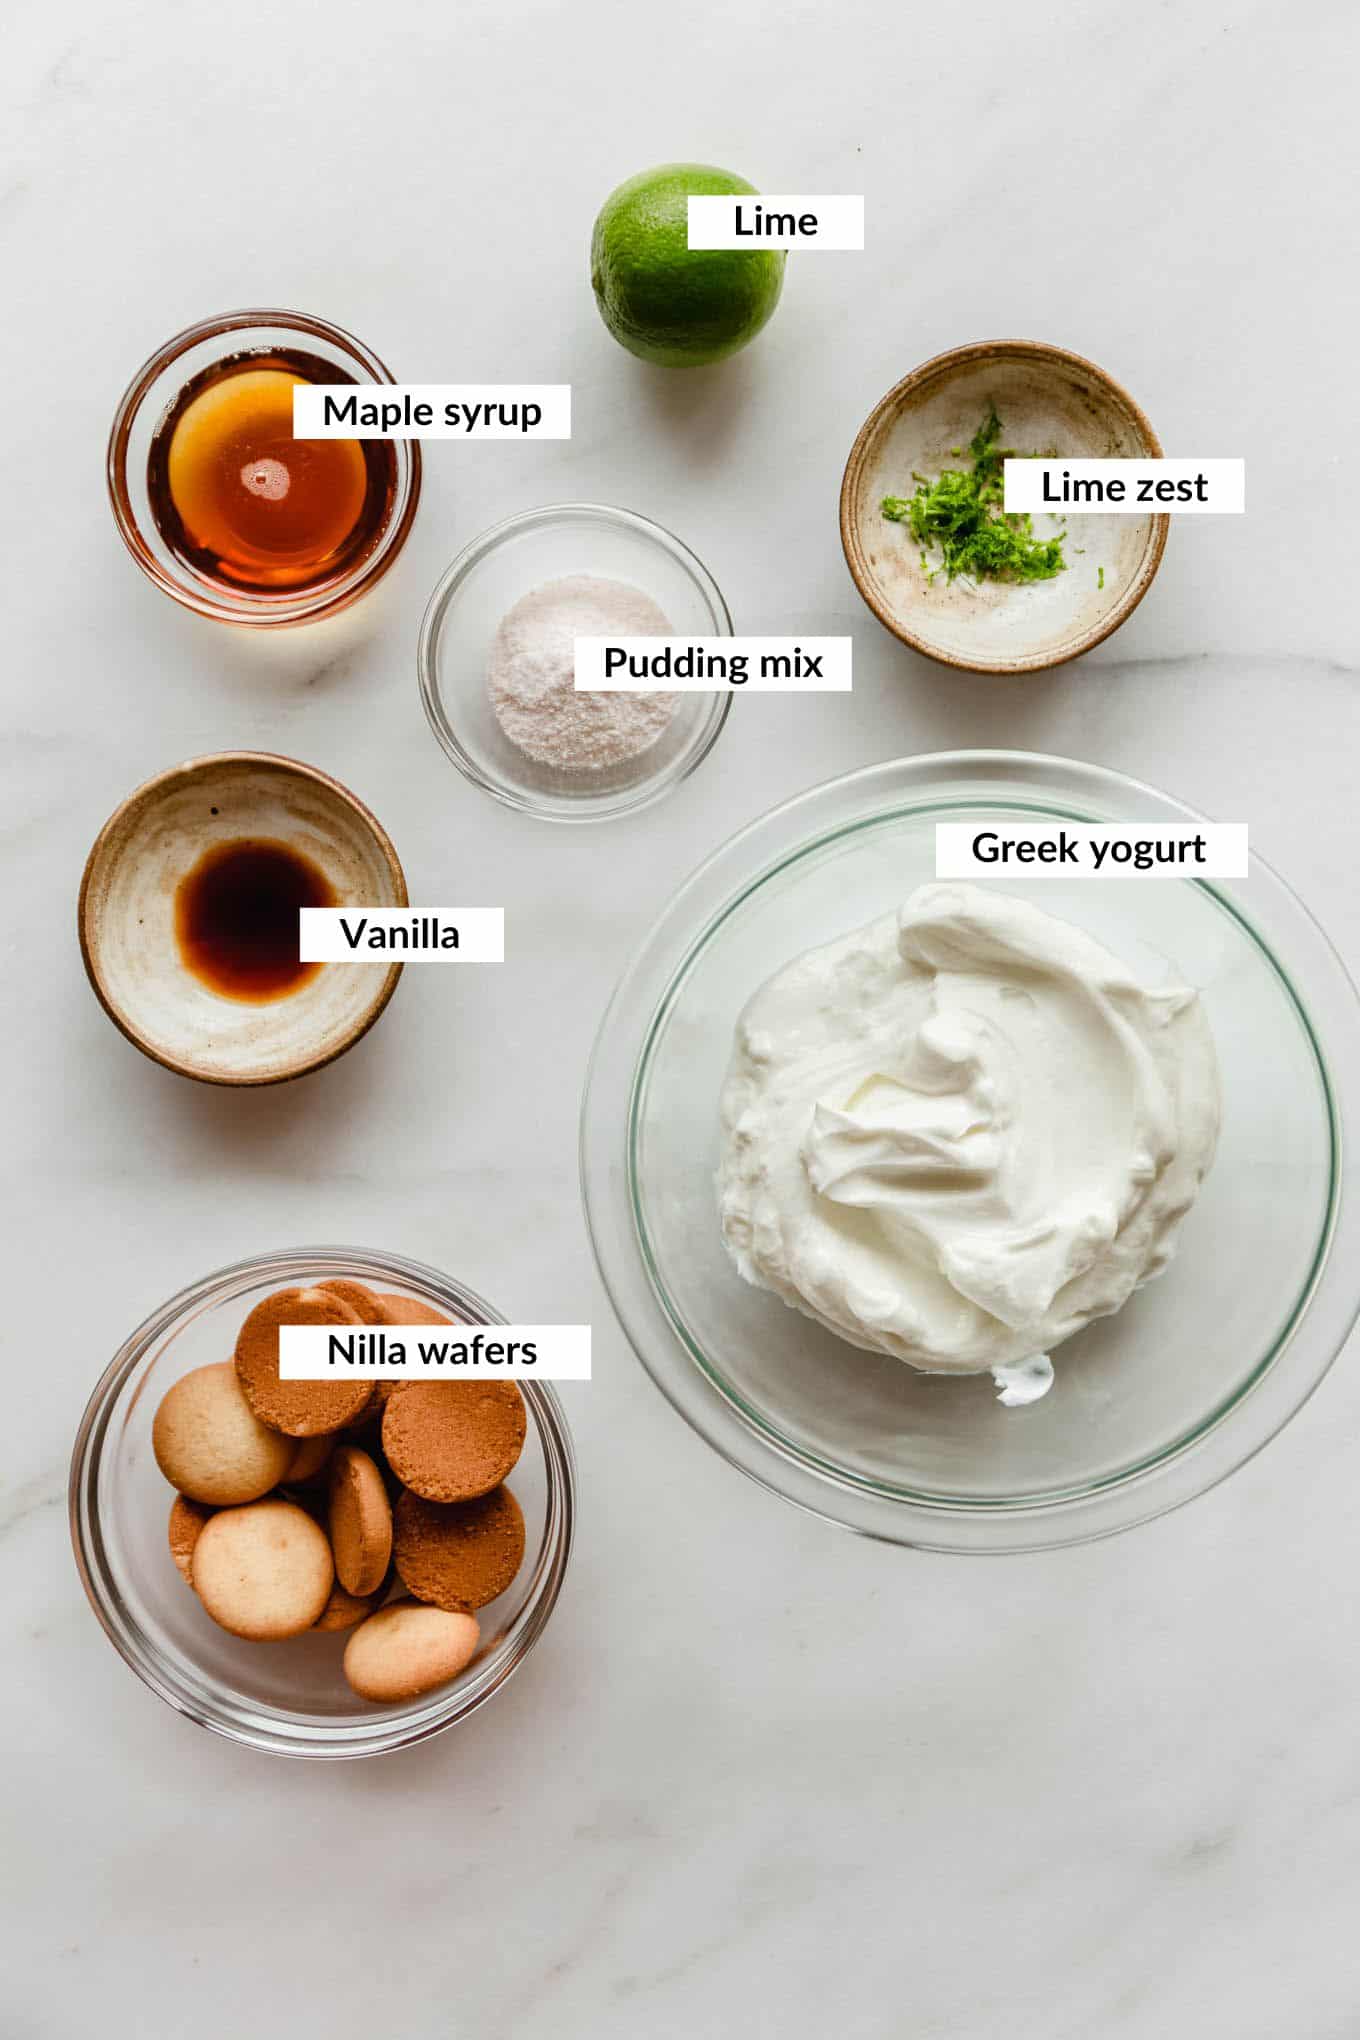
Greek yogurt: Use 2% plain Greek yogurt for the creamiest texture and the biggest protein boost which is the same yogurt I love to use in my Greek Yogurt Tiramisu. If you prefer you can also make this recipe with blended cottage cheese like I use in my Protein Chia Pudding. Just make sure to use a thick cottage cheese for the best texture.
Vanilla pudding mix: This is the secret to that thick, key-lime-filling texture! You only need 1 tablespoon of the dry mix, and it instantly thickens the yogurt. The classic Jello brand is great or for a sugar-free option I like this Simply Desserts pudding mix.
Lime: This recipe calls for lime juice and zest. If you can get your hands on actual key limes, great! If not Persian limes (the regular kind you find at your grocery store) work great. Use any extra limes to meal-prep a batch of Key Lime Pie Energy Balls.
Nilla wafers: These layer in like a graham cracker crust and soften as the jars chill. Graham crackers or gluten-free vanilla cookies both make great swaps.
How To Make Key Lime Pie Jars With Greek Yogurt
*This is a recipe overview. The full recipe with measurements and instructions can be found below in the recipe card.
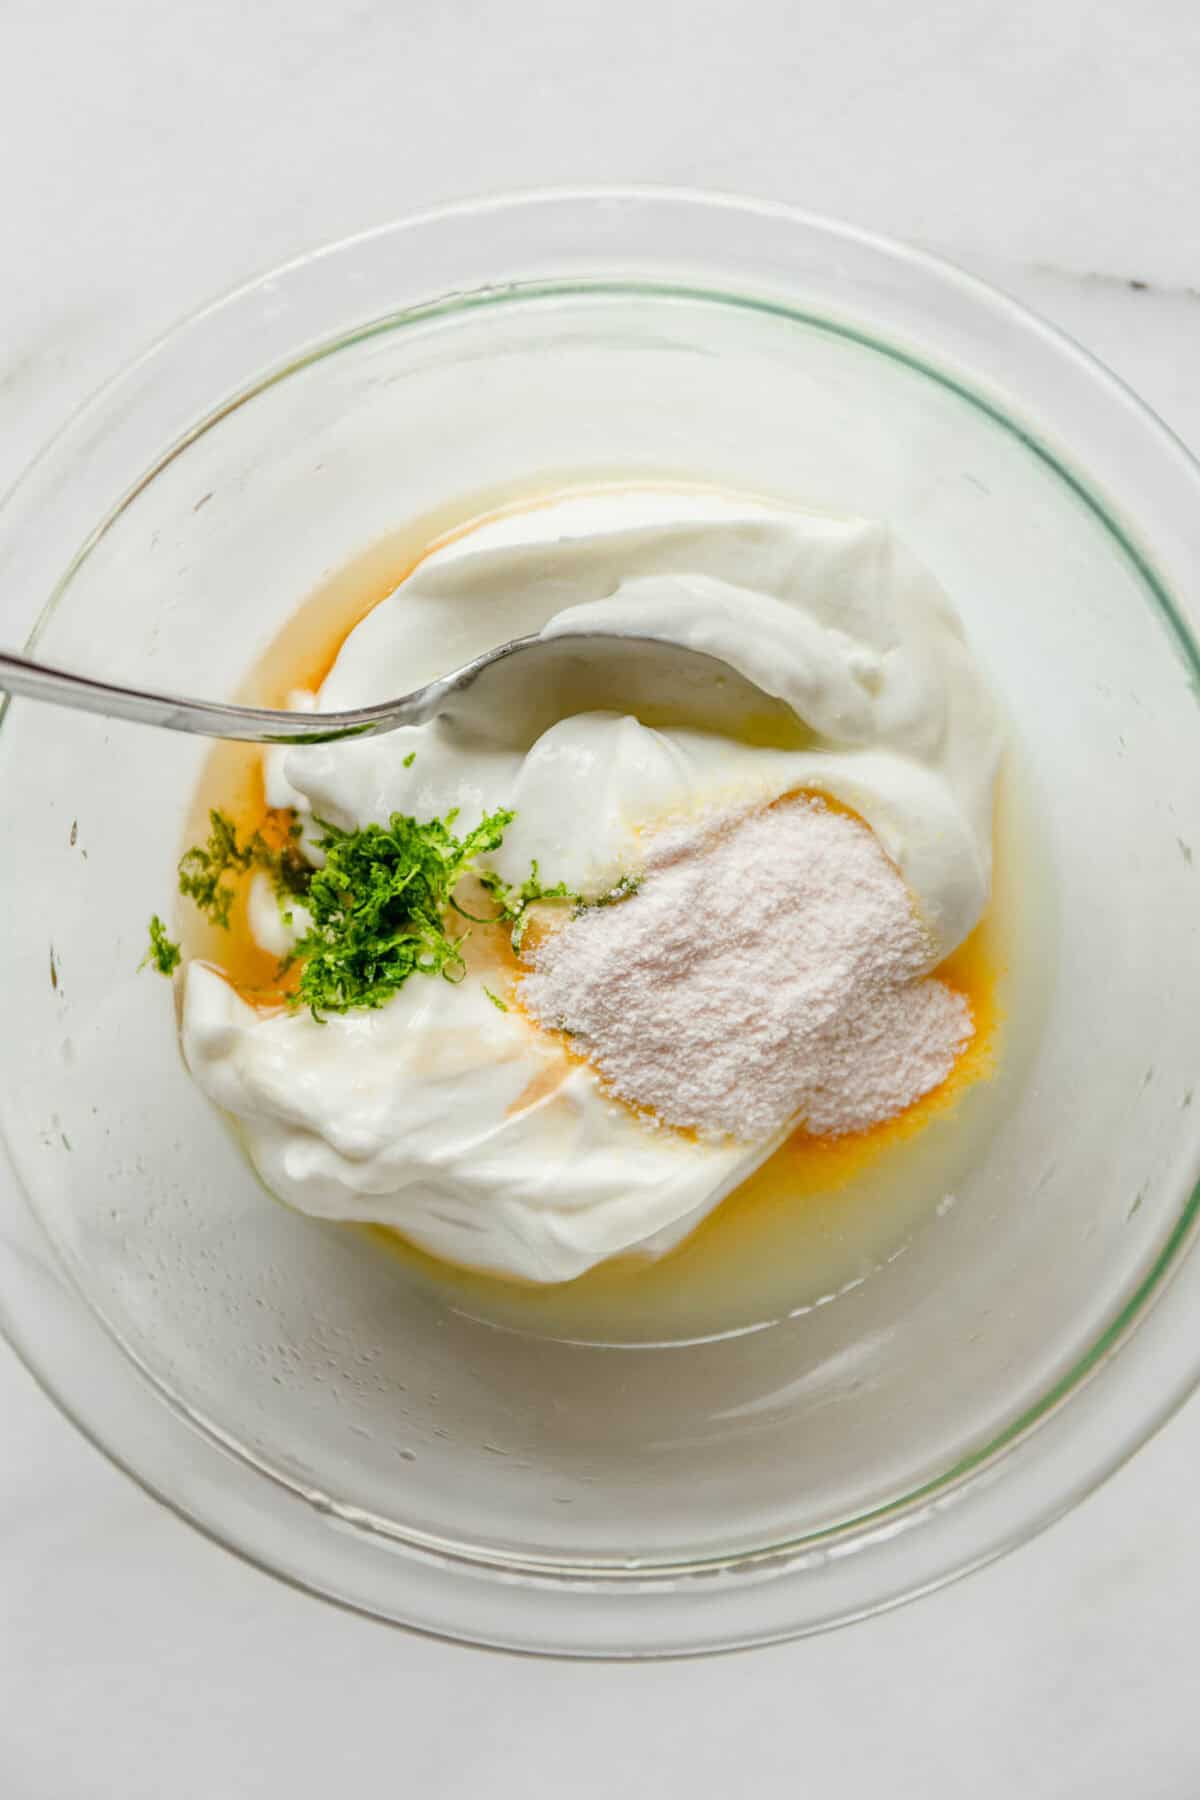
Step 1: Add the Greek yogurt, vanilla pudding mix, lime juice, lime zest, maple syrup and vanilla extract to a large mixing bowl.
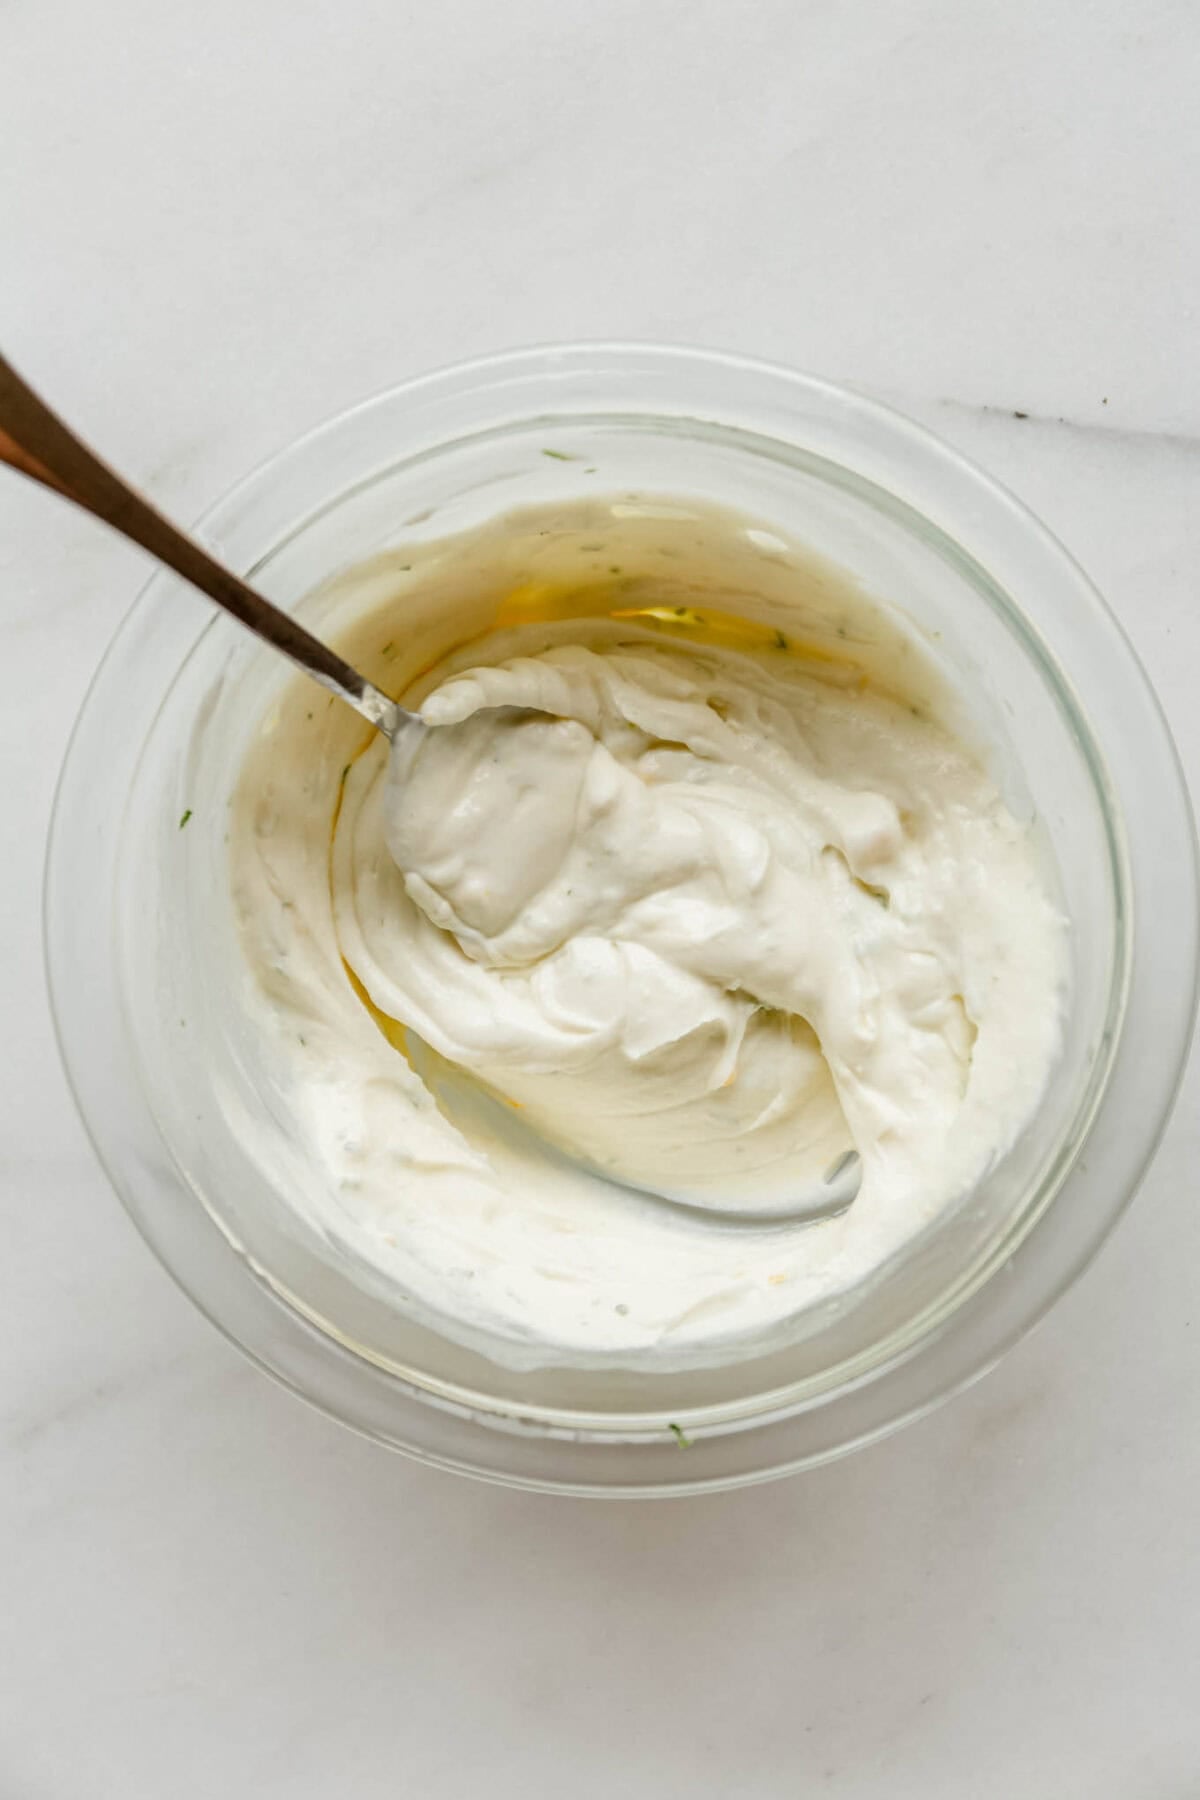
Step 2: Mix to combine.
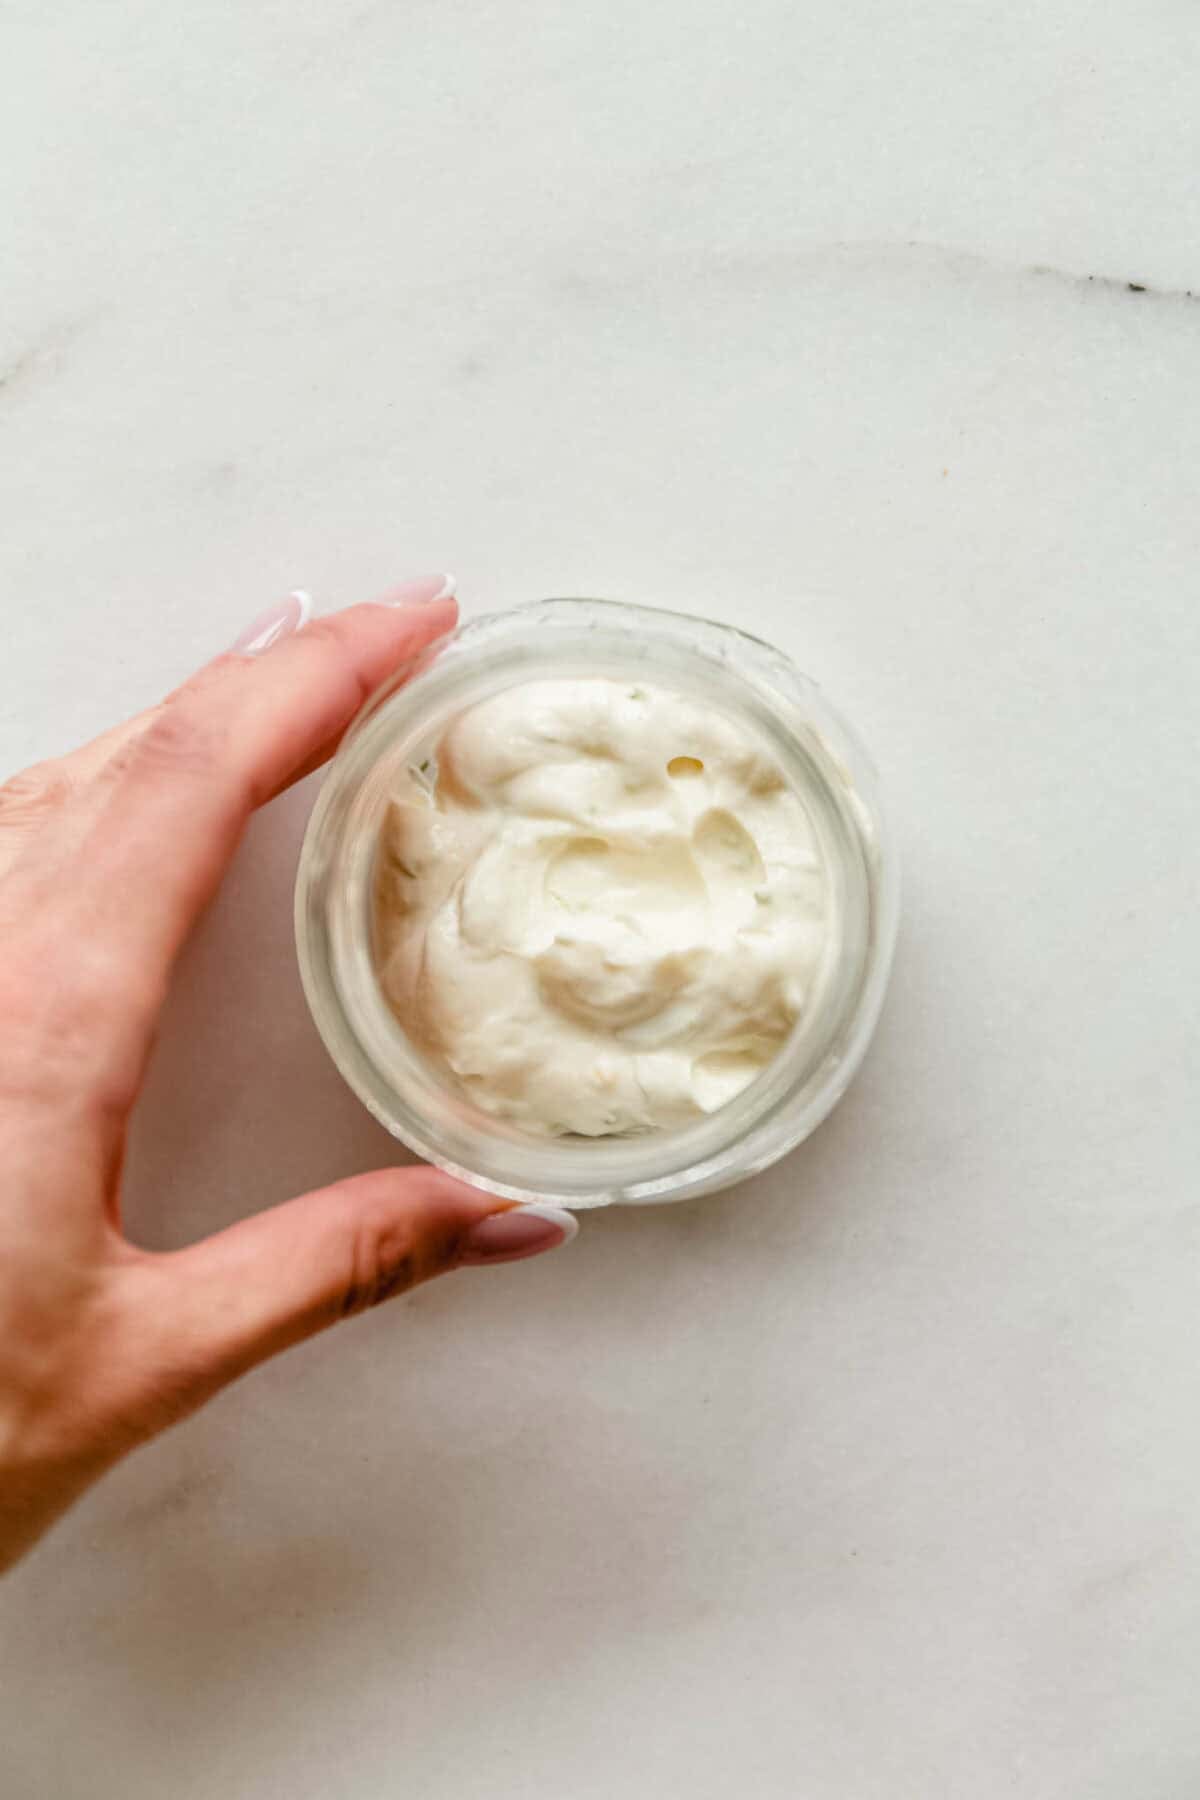
Step 3: Add a layer of the yogurt mixture into two jars or cups.
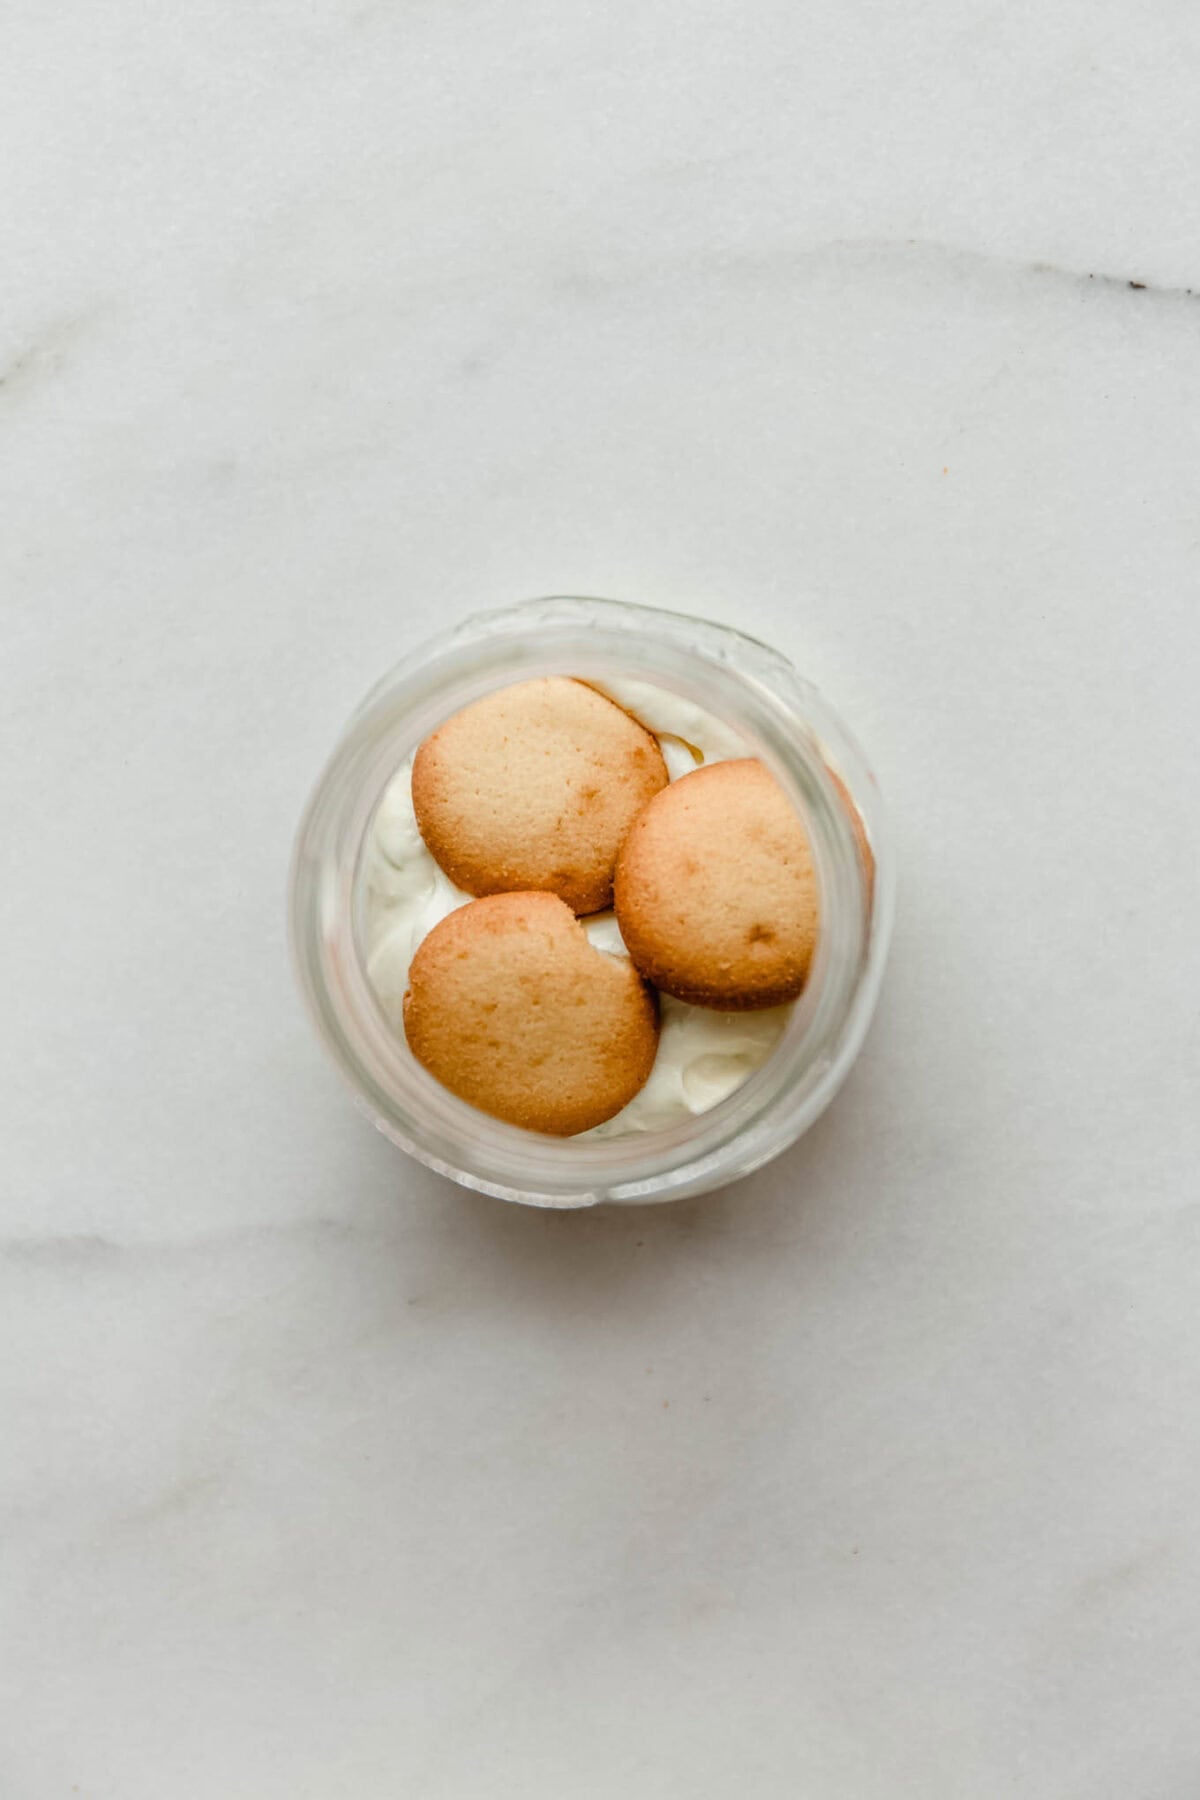
Step 4: Add a layer of nilla wafers.
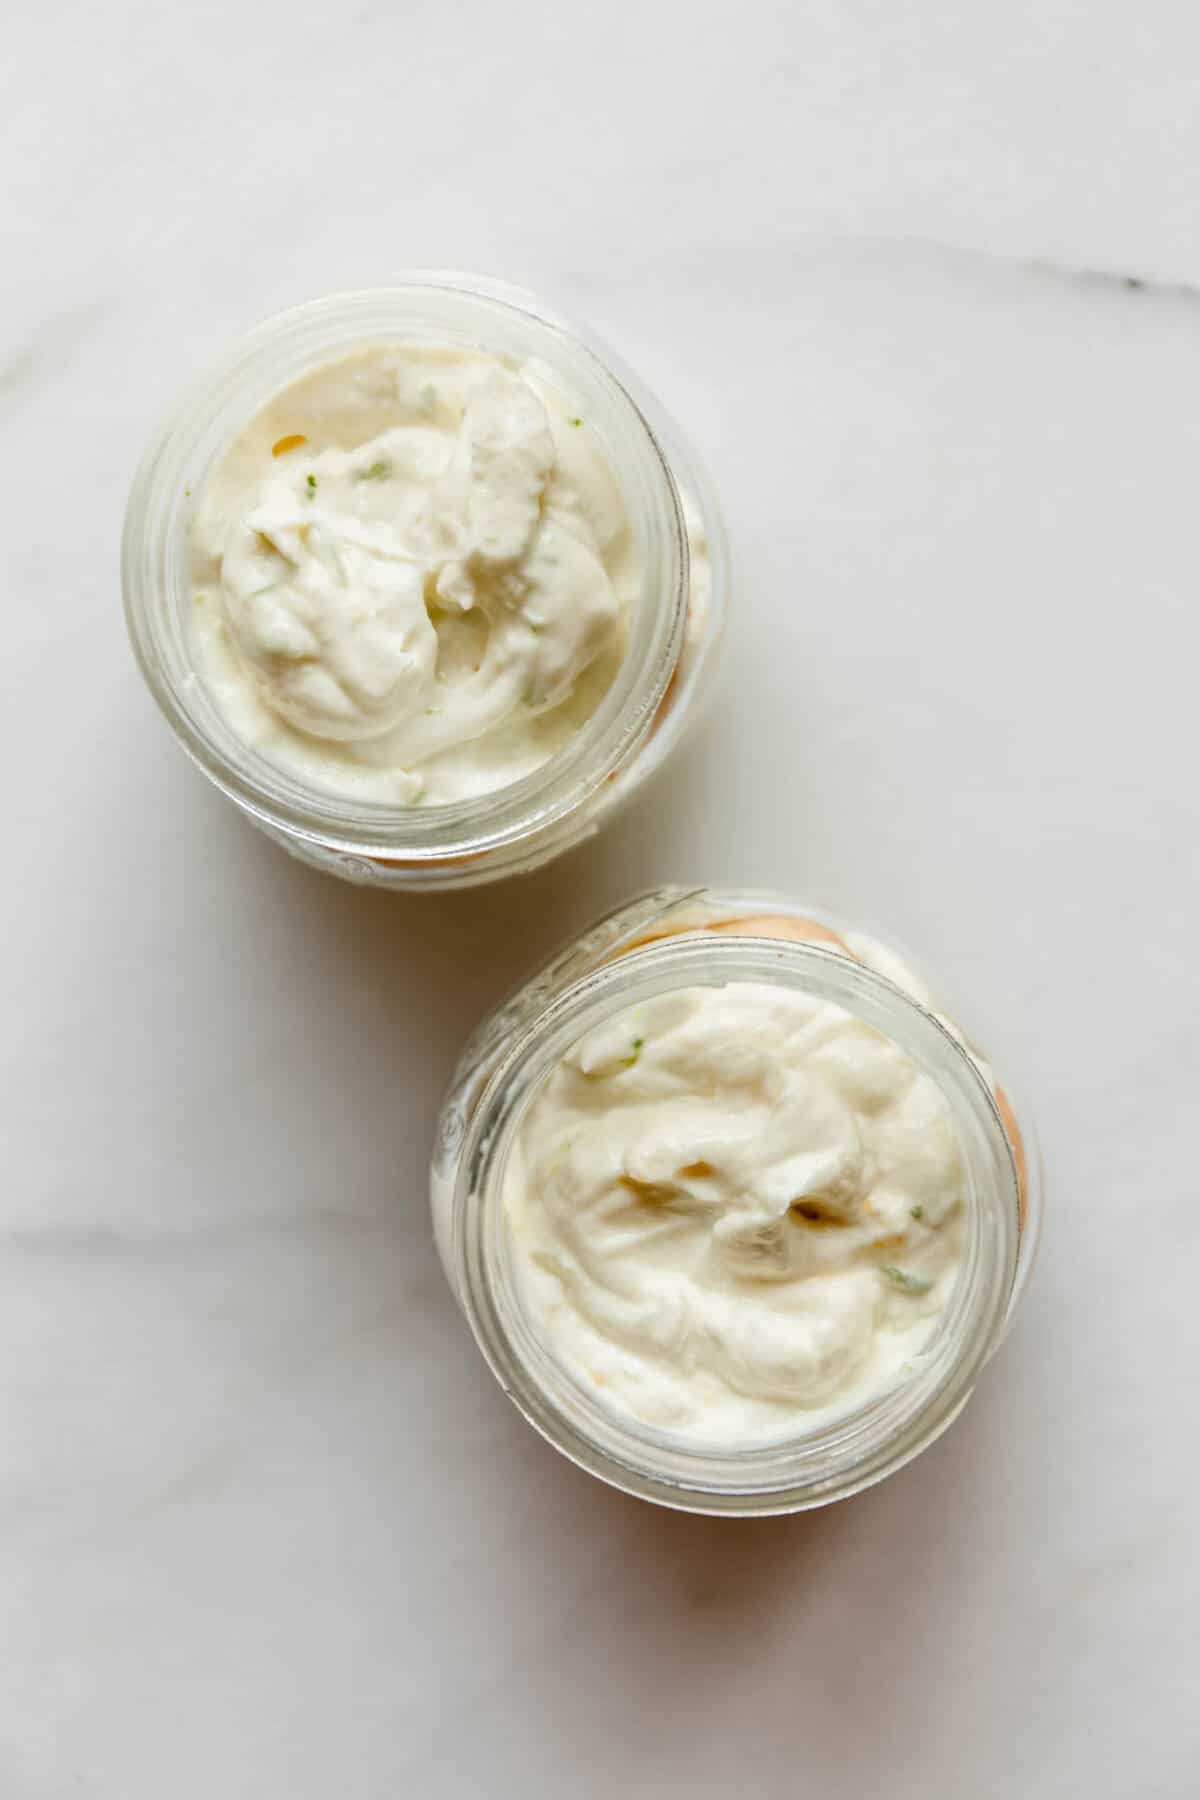
Step 5: Repeat until you reach the top. Seal the jars or cups and place in the fridge to set for at least 2 hours.
How To Store
Store these key lime pie jars covered in the refrigerator for up to 4 days. The Nilla wafers will continue to soften as they sit, so if you prefer a bit of crunch, enjoy them within the first day or add a few extra wafers on top just before serving.
Jess’s Tips
- Use instant pudding mix: Cook-and-serve pudding mix won’t thicken the yogurt as quickly. The pudding will say “instant” on the box.
- Taste as you sweeten: Start with 1 tablespoon of maple syrup, then taste and add more if needed. The tartness of your limes will vary as will the sweetness of the pudding mix, depending on which brand you use.
- Chill for the best texture: These are good right away, but even better if you let them chill in the fridge for at least 2 hours so the flavours come together and the wafers soften.
- Top with whipped cream and zest: If you want to be extra fancy add a little whipped cream and lime zest on top right before serving.
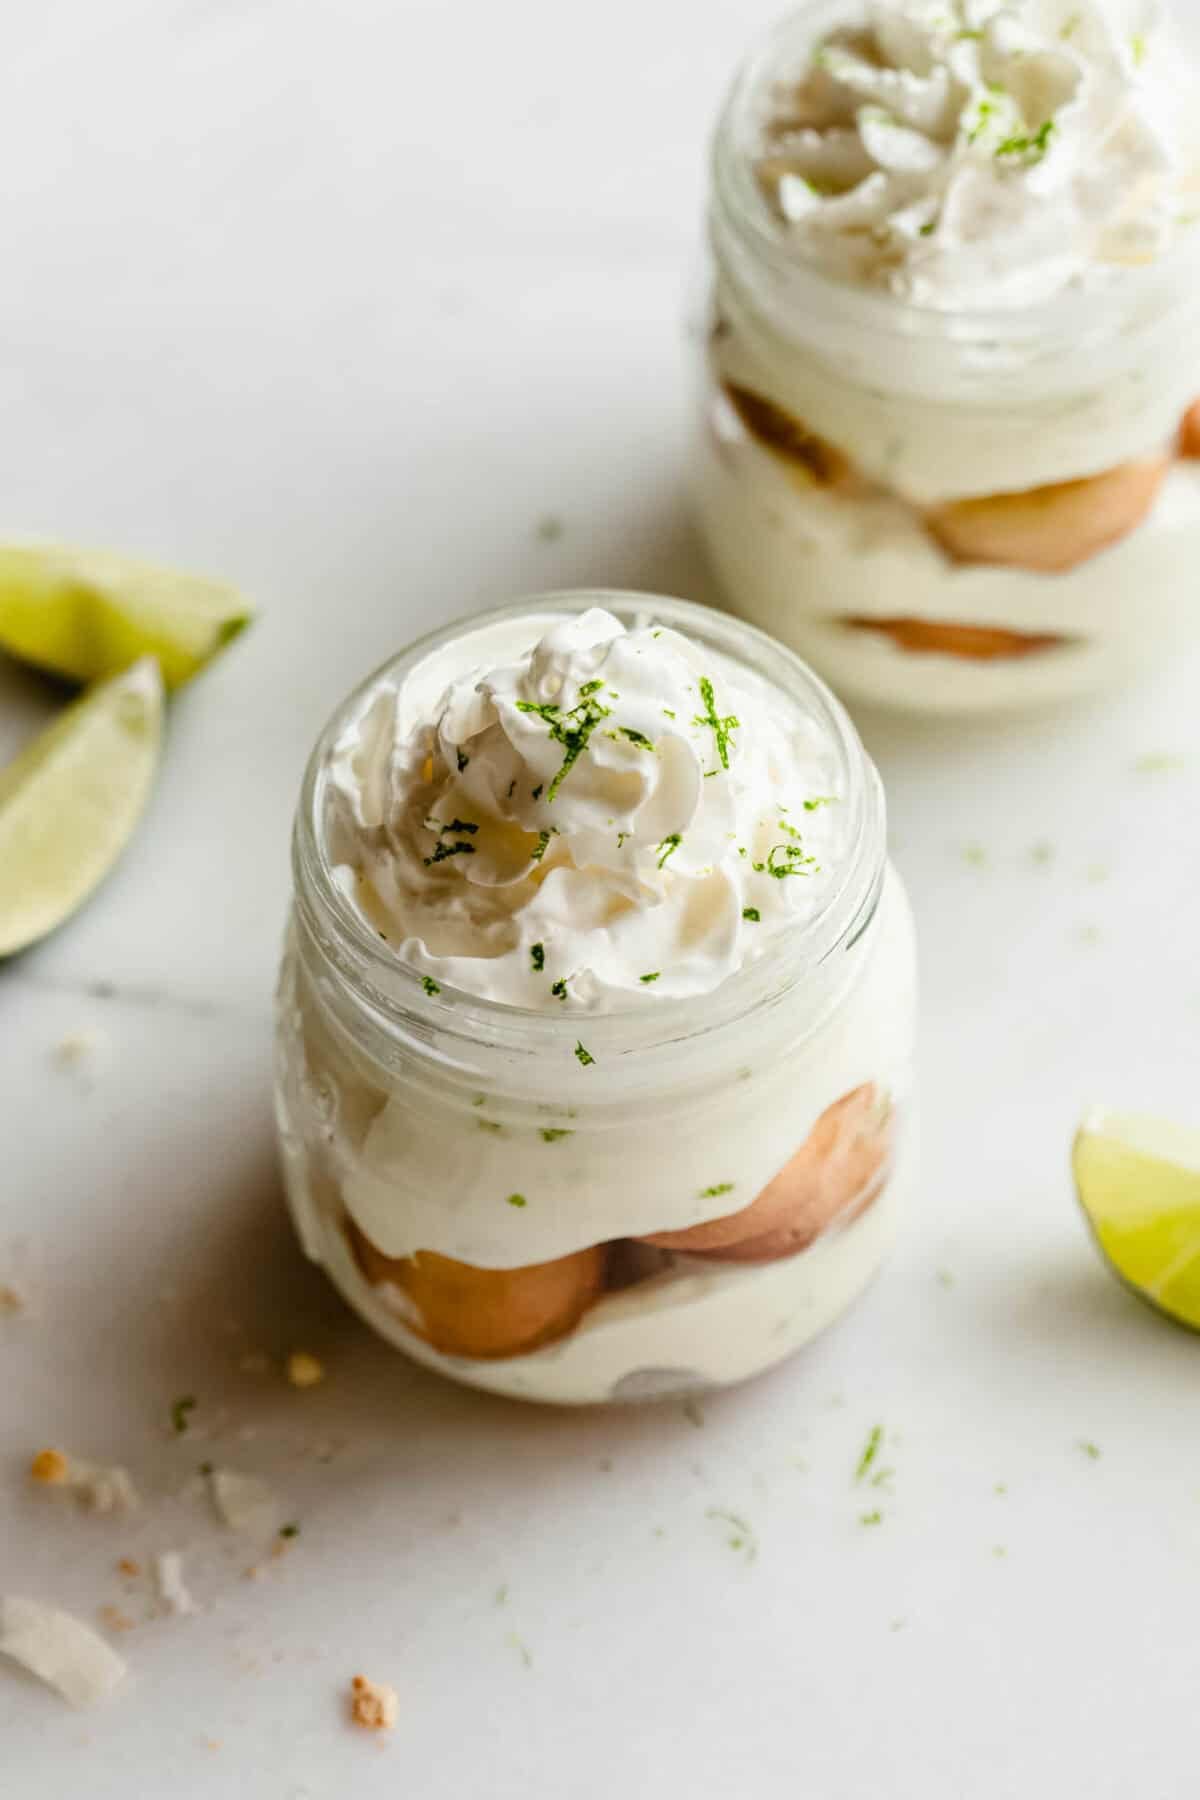
Tried these Key Lime Pie Pudding Jars? Leave a review below and tag me @choosingchia on Instagram, TikTok, or Facebook I love seeing your recreations!
Try These No Bake Recipes Next!
Key Lime Pie Pudding Jars With Greek Yogurt
- Prep Time: 10 minutes
- Cook Time: 0 minutes
- Total Time: 10 minutes
- Yield: 2 jars
- Category: Snack
- Method: no-bake
- Cuisine: American
- Diet: Vegetarian
Description
These Key Lime Pie Pudding Jars With Greek Yogurt are thick, creamy, and taste just like key lime pie. They come together in just 10 minutes and have 12g protein per serving.
Ingredients
- 1 cup plain Greek yogurt (I use 2%)
- 1 tablespoon instant vanilla pudding mix
- 2 tablespoons lime juice, freshly squeezed
- Zest of 2 limes
- 1 to 2 tablespoons maple syrup, to taste
- 1 teaspoon vanilla extract
- 10 to 12 Nilla wafers
Instructions
- Mix together the Greek yogurt, vanilla pudding mix, lime juice, lime zest, maple syrup, and vanilla extract in a medium bowl until well combined.
- Add a layer of the lime yogurt mixture to the bottom of two jars, then top with a layer of Nilla wafers.
- Repeat the layers, ending with the yogurt mixture on top.
- Cover and chill in the fridge for at least 2 hours. (If you prefer crunchy cookies you can eat these right away)
Notes
- Use instant vanilla pudding mix, not cook-and-serve.
- Start with 1 tbsp maple syrup and adjust to taste depending on how tart your limes are.
- Graham crackers or gluten-free vanilla cookies can be swapped for the Nilla wafers.
- Store covered in the fridge for up to 4 days.
Nutrition
- Serving Size: 1 jar
- Calories: 250
- Sugar: 20g
- Fat: 5g
- Carbohydrates: 30g
- Fiber: 1g
- Protein: 12g