This post may contain affiliate links.
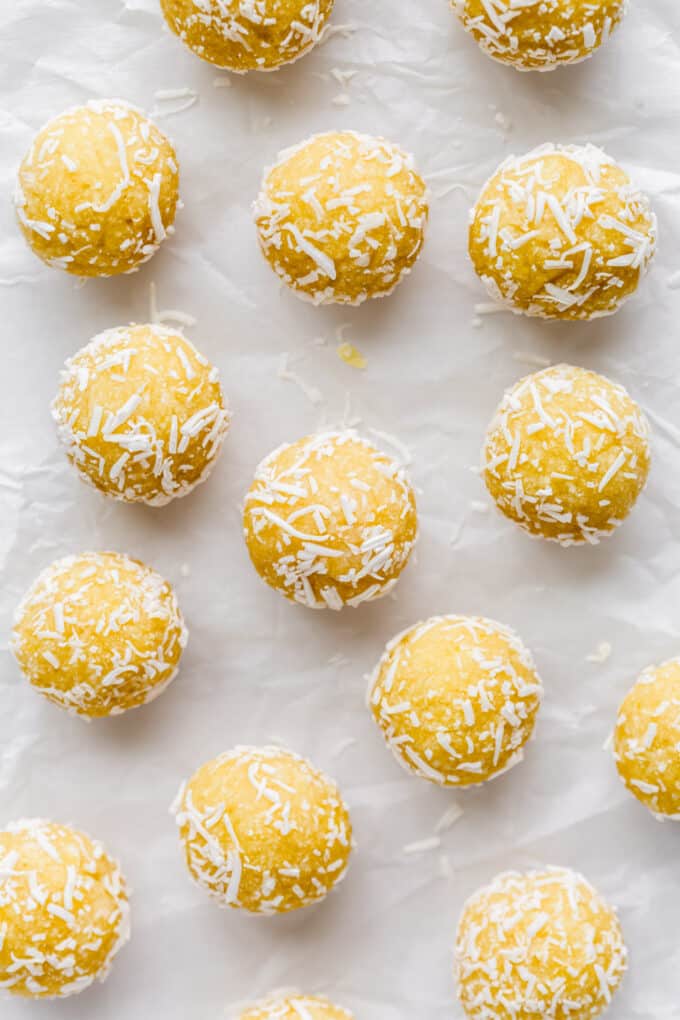
If you’re looking for a healthy and delicious snack then you need to make a batch of these lemon bliss balls! They’re easy to make, grain-free, gluten-free and bursting with lemon flavour.

Table of Contents
Lemon Energy Balls
There’s nothing better when you’re craving a quick, easy and energizing snack than a bliss ball (also known as energy balls). Whether it’s Salted Caramel Bliss Balls, Chocolate Date Balls or Peanut Butter Oatmeal Protein Balls, they’re a great snack to keep on hand and perfect for meal prep.
This recipe for lemon bliss balls (also called lemon energy balls) is made in a food processor with just a few simple ingredients and comes together in just 15 minutes.
Why you’ll love this recipe
- Grain-free and gluten-free. These bliss balls are made with almond flour and shredded coconut, making them completely grain-free and gluten-free. For another grain-free snack also try these Pumpkin Protein Balls.
- Freezer friendly. These energy balls can be stored in the freezer for several months and can also be enjoyed directly out of the freezer.
- Bursting with lemon flavour. If you’re a fan of sweet lemon treats like gluten-free lemon bars or lemon chia pudding, then you’ll love these vibrant lemony bites!
Key Ingredients and Substitutions
- Almond flour: this is used for the base of the energy balls. You could also use oat flour or coconut flour.
- Shredded coconut: make sure to use unsweetened shredded coconut to control the sweetness. If you don’t like coconut you can just substitute with more almond flour.
- Honey: this is used to sweeten the energy balls, but also to help them stick together. For a vegan version, use agave nectar or rice syrup.
- Lemon: this recipe uses both the juice and zest for a lemon for extra lemon flavour! I HIGHLY recommend using fresh lemon in this recipe vs. bottled or jarred lemon juice. It will taste MUCH better.
*This is just a recipe overview. The FULL recipe with measurements can be found below in the recipe card.
How To Make Lemon Bliss Balls
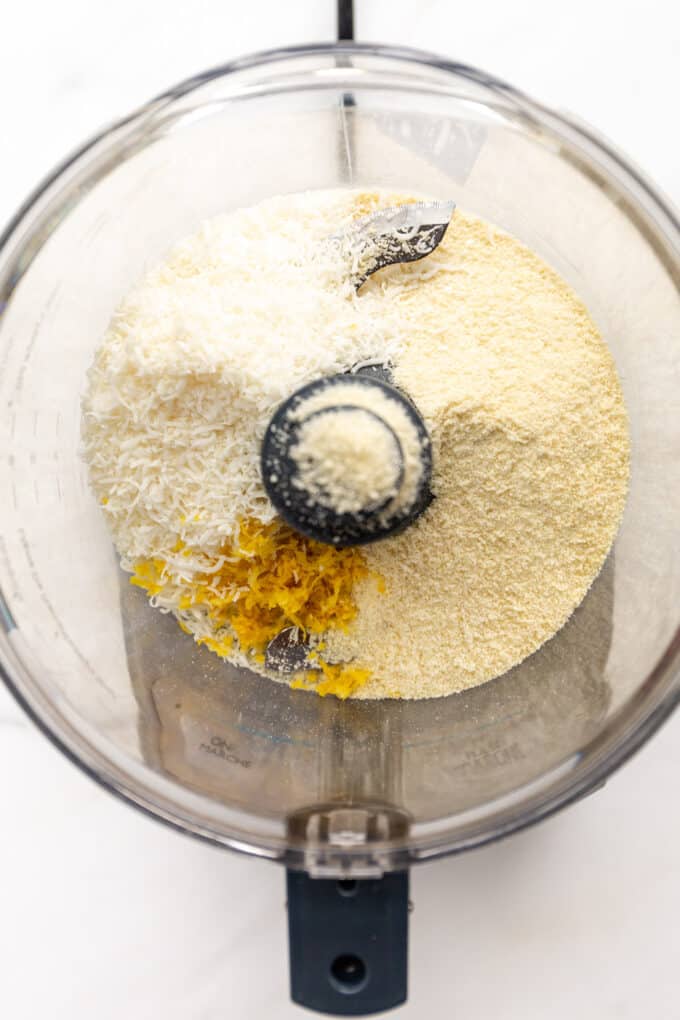
Step 1: Add the dry ingredients to a food processor.

Step 2: Add the wet ingredients (honey and lemon juice) to the food processor.
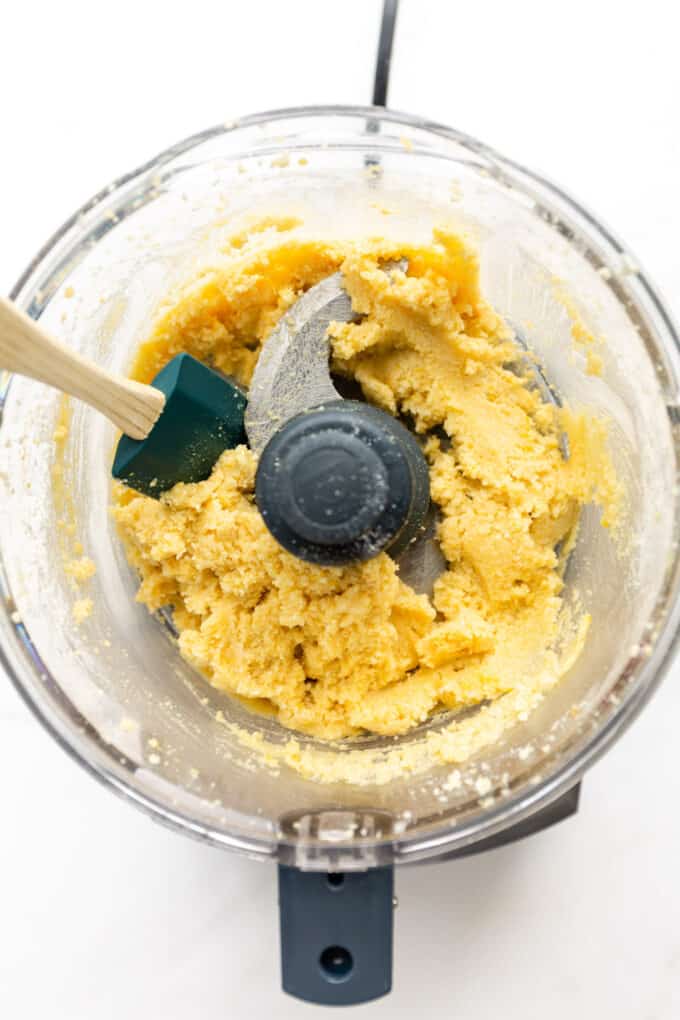
Step 3: Pulse the mixture together until it forms a sticky dough.
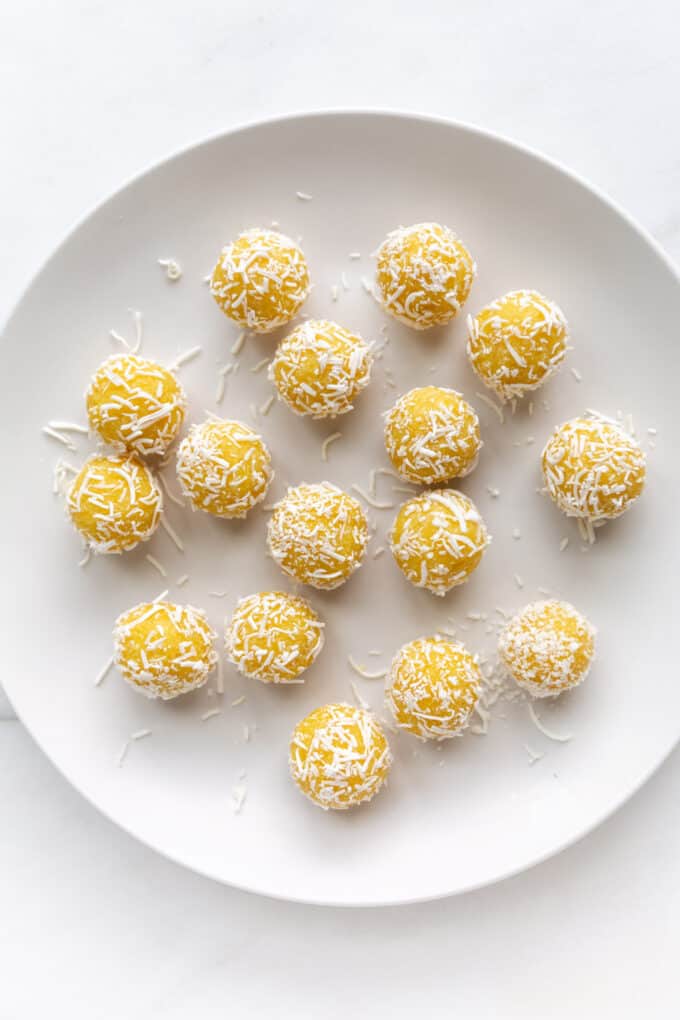
Step 4: Use your hands to roll into even balls. Roll each ball into a plate of shredded coconut. Place in the fridge for at last 2 hours to set.
How To Store
Lemon bliss balls MUST be stored in the fridge or freezer. If you leave them on the countertop they will become too soft and fall apart.
- Fridge: store these bliss balls in an airtight container for up to 2 weeks.
- Freezer: store these bliss balls in a freezer bag for up to 2 months.
Jess’s Tips
- Adjust the texture – If the dough is too dry and crumbly, add 2-3 extra tablespoons of honey and pulse again until it sticks together. It should feel slightly sticky between your fingers.
- Even sizing for perfect bites – Use a tablespoon or small cookie scoop to measure out the dough evenly for uniform bliss balls.
- Try a lime variation – Swap the lemon juice and zest for lime juice and zest for a refreshing citrus twist.
- Boost the color naturally – Add a pinch of turmeric for bright yellow bliss balls. Be careful not to add too much, as it can change the flavor.
- Chill before rolling – If the mixture is too soft, pop it in the fridge for 10-15 minutes to firm up before rolling into balls.
- Coat for extra flavour – Roll the bliss balls in shredded coconut, crushed nuts, or finely grated lemon zest!
Frequently Asked Questions
A lemon bliss ball is a no-bake energy bite made with wholesome ingredients. They’re naturally sweetened, packed with flavour, and perfect for a healthy snack or dessert.
Yes. Bliss balls are made with healthy ingredients and can be enjoyed as a healthy snack. Just remember that they do contain 110 calories per ball since they are made with ingredients like almonds and coconut.
One bliss ball is equal to one serving. However, you can enjoy 1-3 bliss balls per day for a larger serving.
Yes. If you’d like to make these bliss balls without a food processor I recommend using coconut flour instead of shredded coconut. You can use a large mixing bowl to mix all the ingredients together.
Try these bliss balls next!
If you tried these Lemon Bliss Balls or any other recipe on the blog let me know how you liked it by leaving a comment/rating below! Be sure to follow along on Pinterest, Instagram, Tiktok and Facebook for even more deliciousness!

Lemon Bliss Balls
- Prep Time: 15 minutes
- Cook Time: 0 minutes
- Total Time: 15 minutes
- Yield: 12-16 balls
- Category: Snack
- Method: Mix
- Cuisine: American
- Diet: Gluten Free
Description
Lemon bliss balls are a healthy and delicious snack or treat and are perfect to meal-prep!
Ingredients
- 1 1/4 cups almond flour
- 1 cup unsweetened shredded coconut
- pinch of salt
- 1/8 tsp turmeric (optional, just for colour)
- 1/4 cup honey (sub agave for vegan)
- 2 tbsp lemon zest
- 3 tbsp lemon juice
- 1 tsp vanilla extract
- coconut for rolling
Instructions
- Add all of the ingredients to a food processor and pulse together until it forms a sticky dough.
- Use your hands to roll into even balls. (about 1 tbsp per ball)
- Optionally roll each ball into a plate of shredded coconut.
- Place in the fridge for at least 2 hours before eating nd keep stored in the fridge in an airtight container.
Notes
- Adjust texture – If too dry, add 2-3 tbsp honey and pulse until sticky.
- Even sizing – Use a tablespoon or small scoop for uniform balls.
- Lime variation – Swap lemon juice/zest for lime juice/zest.
- Boost color – Add a pinch of turmeric for a bright yellow hue.
- Chill before rolling – Refrigerate for 10-15 minutes if too soft.
- Coat for extra flavor – Roll in coconut, nuts, or lemon zest.
Nutrition
- Serving Size: 1 ball
- Calories: 110
- Sugar: 3.5g
- Fat: 4g
- Carbohydrates: 15g
- Fiber: 1.5g
- Protein: 2g


THANK YOU! These are so easy, quick and delicious!!! Coconut doesn’t like me so I subbed oatmeal ground into flour and worked great! Just discovered you and so happy I did!
So happy you liked them Shelly 🙂
Made this today! My husband and I really liked it. Waiting for my 1.5 year old daughter to jump on board😆
I’m so glad you both loved them!! My toddler loves these so hopefully yours will too soon!
Have you tried with protein powder? Truvani makes a lemon cookie that would prob go well. If we wanted to add protein powder, do you know if the other ingredients would need to be changed or adjusted?
Hi Alisa! I haven’t tested this exact recipe with protein powder but it would definitely work! The lemon cookie one you mentioned would be great. Just reduce the almond flour by how much protein powder you add. if you find the dough a bit dry (some protein powders can absorb a lot of liquid) just add a bit more of the wet ingredients.
Does the flour need to be baked before using?
Hi Kelsey, these are made with almond flour which is just ground up almonds. no need to bake it before using.
Delicious❤️
Thank you! Im happy you enjoyed them!
Hi, could you substitute maple syrup for the honey?
yes!
HAVE to make these! Would dessicated coconut work just as well and would I use a bit less?
Hi Sarah, it would be the same!
These look amazing! I’m on AIP and cannot use almond flour. Would coconut or Tigernut flour work? Any advice to make these AIP compliant would be awesome. Thank you 🙂
Coconut flour will work for these!